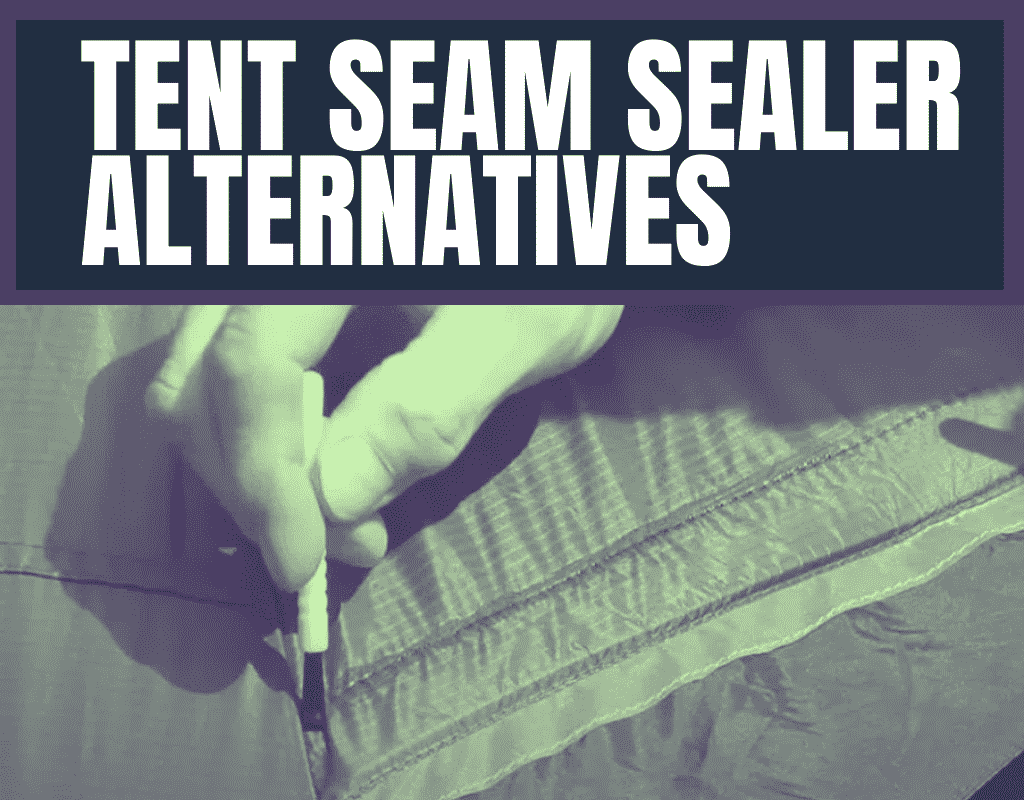
Gear Aid’s Seam Grip seam sealer is a great product for small jobs, but seam sealing a tent can get expensive. It takes 3-4 bottles to do the main seams on a tent so it can set you back $30-$40 bucks. That might make sense on an $200+ tent, but it’s not worth it with cheaper tents. Are you stuck buying 3-4 tubes of Seam Grip, or are the cheaper tent seam sealer alternatives?
Yes there are a handful of tent seam sealer alternatives. Shoe Goo is a similar product to Gear Aid Seam Grip and it’s the same price for a bottle that’s almost 4 times the size. Seam seal tape is another option that lasts longer than silicone based products(15-20 vs 3-4 years). You can also make your own DIY Seam Sealer out of clear 100% silicone caulk and mineral spirits if you’re doing a large project.
I always keep a bottle of Seam Grip in my pack for small jobs in the field, but I’m not willing to spend $30+ every time I need to seam seal my tent. You have to replace silicone based seam sealers every 3-4 years so that’s ridiculous over the useful lifespan of a tent.
Shoe goo is the closest product to actual seam sealers, but making your own seam sealer out of silicone caulk isn’t hard (takes less than 5 minutes). I hate using seam tape, but it does provide 15-20 years of waterproofing so it’s worth considering. In the rest of this post I’ll go over each of these cheap tent seam sealer alternatives and teach you how to use them.
The 3 Best Tent Seam Sealer Alternatives
I think homemade seam sealer works as good as commercially sold sealers, but there are other options you might want to consider. Homemade seem sealer is the cheapest option if you need to cover a large area of your tent, but some of these other products are great for smaller repairs. They’re definitely worth looking at for small jobs, but you can skip down to the next section if you’re doing a big project.
- Shoe Goo: Shoe goo is almost the exact same product as Gear Aid Seam Grip, but it’s much cheaper. You can get a bottle that’s almost 4 times the size of Seam Grip for a few dollars less. I still recommend thinning it out so you might want to check out my post explaining how to thin seam sealer.
- Clear 100% Silicone Caulk: You can buy clear 100% silicone caulk at any home improvement store. It’s too thick to apply straight out of the bottle, but it applies evenly at a 50/50 ratio of silicone to mineral spirits. I’ve always used the clear GE Advanced 100% Silicone that you’d use with windows, but any 100% silicone product will work. One tube of silicone caulk will cover 100 linear feet once it’s mixed with mineral spirits so you can cover a tent and all of your gear with a single tube.
- Seam Tape: Seam tape is a more permanent solution that leaves clean seam lines, but it’s a pain in the butt to apply. You have to clean off the old seams like you’d do with any of these other products and then roll the tape on your seams. Once the seam tapes rolled out on your seams you have to melt it with an iron. Painting on silicone is easier and much faster.
Shoe Goo Is A Much Cheaper Option
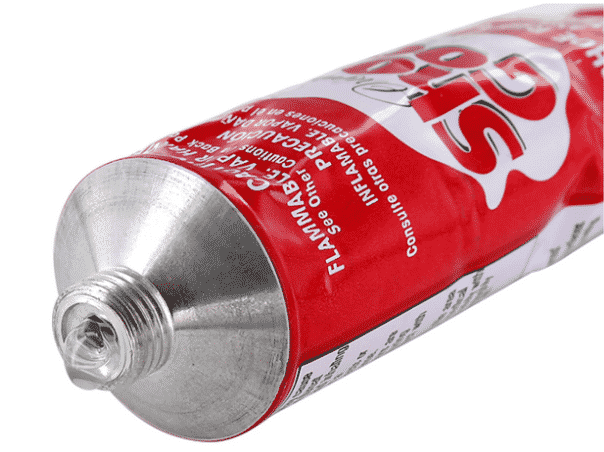
Every silicone based sealing products is basically the same. It’s just silicone mixed with some kind of thinning product to make it easier to apply. The vast majority of people use Gear Aid’s Seam Grip, but Shoe Goo is a much cheaper option that’s almost exactly the same thing.
Shoe Goo comes in a tube that’s almost 4 times the size of Seam Grip and it’s usually a few dollars cheaper. I still recommend thinning it out, but it works just as well as regular tent seam sealers. You can save about $30 if you’re resealing all the seams on a tent or doing any other large product.
Shoe Goo is like every other commercial tent seam sealer. It’s a silicone based product so it’s a messy goopy substance. You can use it straight out of the tube, but it will be harder to apply. Thinning it out will give you cleaner seam lines, make it easier to apply, and you will be able to apply a thinner coat. So you’ll be able to cover a large area (40-50 feet).
Thin out the shoe goo by mixing in mineral spirits at a 3 to 1 ratio. That’s 3 parts Shoe Goo to 1 part mineral spirits. Once you mix up the concoction it should have a similar consistency to olive oil. You might need to add a little bit more mineral spirits if looks like a thick paste. Some people go all the way to a 50/50 ratio, but that can be messy to apply.
You might want to check out my post explaining how to thin out seam sealer for more information.
Homemade Seam Sealer With Clear 100% Silicone Caulk
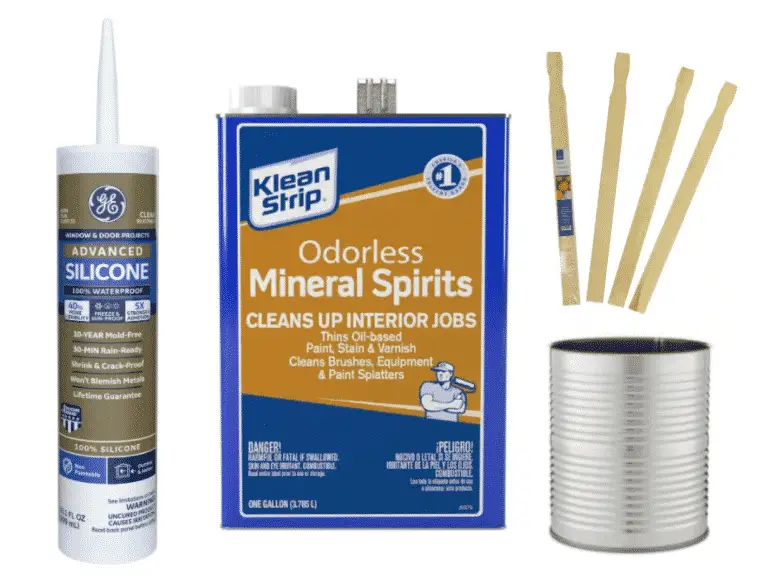
You can make your own homemade seam sealer out of clear 100% silicone caulk and mineral spirits (or paint thinner). It’s the same kind of clear silicone caulk that you use around windows and it can be found for less than $10 at any home improvement store.
This is the best solution if you want to reseal the seams on an entire tent. A standard sized 10.1 oz bottle of silicone caulk will cover 100 linear feet of tent seams. Most tents have 30-40 feet of seams so it’s enough to do your tent, pack, sleeping pad, jackets, waterproof boots, and the rest of your gear with one batch.
I’ve always used Clear GE Advanced 100% Silicone Caulk to make homemade seam sealer, but any 100% silicone caulk will work. You will also need to buy a caulk gun if you don’t already have one, but you can pick one up at any home improvement store for $5-$10.
They also sell smaller 2.8 oz squeeze tubes if you’re making a small batch. It’s enough to cover 30-40 linear feet so you should be able to do your entire tent with one bottle, but it will be close. Start out on the most important seams and finish at the least important seams. The old interior seam seal should good enough if you don’t have enough to finish.
Here’s a quick breakdown, but you may want to check out my post explaining how to make homemade tent seam sealer for more information.
Making homemade seam sealer is easy! Just make a 50/50 mix with 1 part silicone caulk to 1 part mineral spirits. Be careful mixing in the mineral spirits if you used the entire tube of silicone. You won’t have extra silicone to thicken it up if you put in too much mineral spirits and it ends up runny. It should be a similar consistency to olive oil.
When you put the brush in the mixture it should stick to the brush without dripping all over the place. It will drip a little bit, but once you wipe it off on the side of the container it should stop. If it seems runny you need to add silicone to thicken it up so you don’t make a mess. Dipping the brush in and pulling out a gloopy blob means you need to add mineral spirits to thin the mixture.
Seam Tape
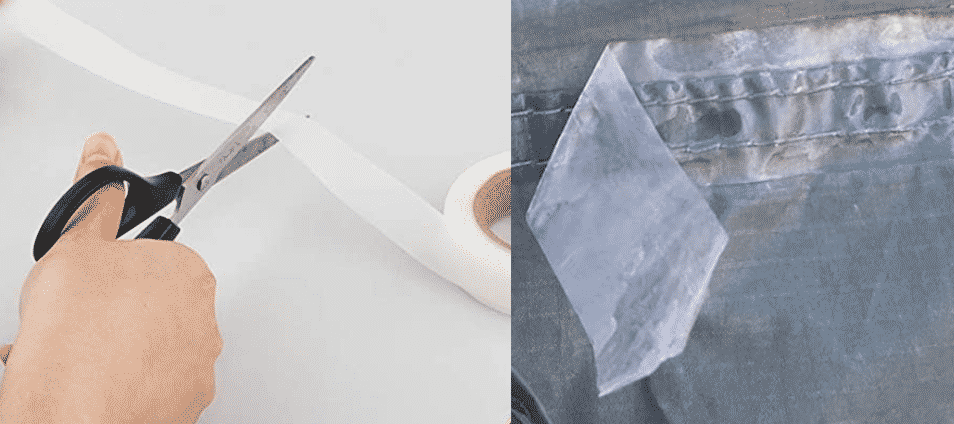
People seam to either love or hate using seam tape and I fall into the hate seam tape category. It’s reasonably priced (check it out), works really well and provides permanently sealed seams, but it’s a pain to use.
You have to clean off the seams, pick off the frayed/peeling tape, roll it onto all of your seams, and use an iron to melt the seam seal tape. That’s not a huge deal on a jacket, but it takes forever to do every seam on a tent (2-3 hours).
Using silicone based seam sealers is so much easier. I can make a fresh batch of homemade seam sealer and do an entire tent in less than 30 minutes.
It may take a while to use, but seam seal tape does have one major advantage over silicone based products. Properly applied seam seal tape should last 15-20 years before it needs to be replaced. Silicone based seam sealers need to be reapplied every 3-4 years.
Plus it’s almost impossible to screw up seam seal tape once you figure out what you’re doing. Once you figure out the right temperature to run your iron it’s almost foolproof. Placing a piece of paper between your iron and the seam tape will protect the tent fabric and keep melted tape off the iron if it’s too hot.


