Anybody that’s tried using seam sealer knows that it’s a sticky messy product. Gear Aid Seam Grip is by far the most popular product, but it always comes out as a gloopy glob. It still works, but you end up with thick messy seams that flake off leaving a messy look, but there’s an easy cure! All you have to do is thin the seam sealer so it can penetrate into the stitching.
How do you thin seam sealer? You can thin seam sealer with a can of mineral spirits or any kind of paint thinner. Mix 3 parts of seam sealer with 1 part mineral spirits in a tin can or plastic container and stir it up using a stir stick. Start with a little bit of mineral spirits and slightly adjust the mixture until it reaches the consistency of olive oil.
You can use seam sealer straight out of the tube, but it won’t look very good. Thinning your seam sealer is the only way to get a clean polished look. In the rest of this post I’ll explain how to thin seam sealer and teach you how to apply the product to get a professional finish.
What Do I Need To Thin Seam Sealer and Apply It?
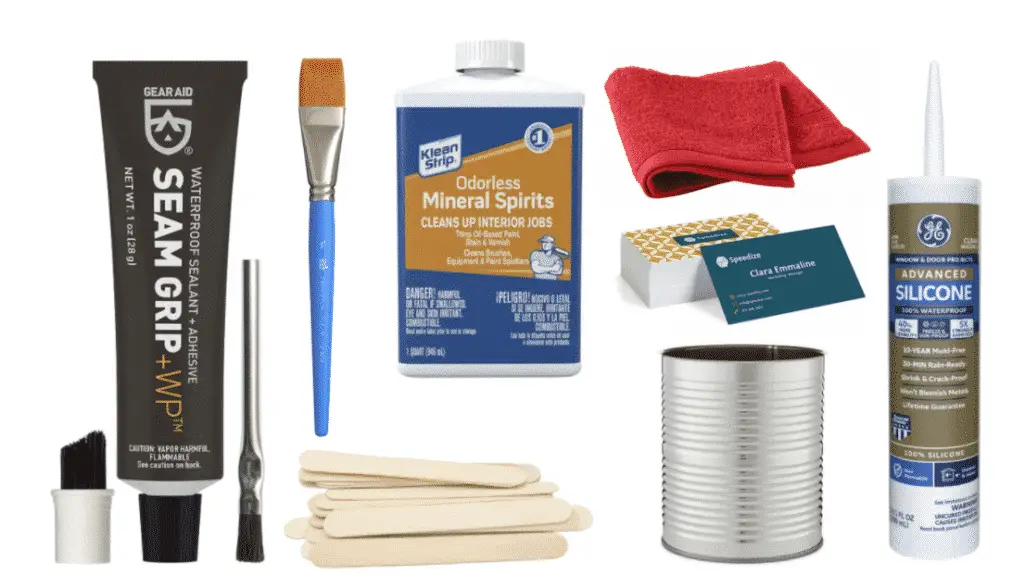
You don’t need all that much to thin and apply seam sealer. Here’s a list of everything you need to reseal your seams.
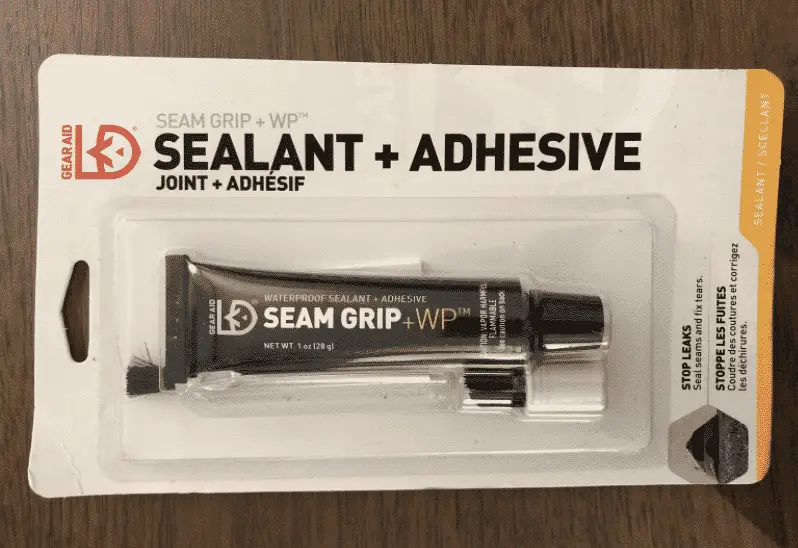
- Seam Sealer: There are a few seam sealing products on the market, but most people use Gear Aid Seam Grip . It covers 12 linear feet of seams, but it’s expensive. One bottle will work for a jacket or pack, but you will need 2-3 bottles to reseal the seams on an entire tent. Shoe Goo is 4 times the size, much cheaper, and works just as well. If you’re doing a large area, buy a big tube of clear 100% silicone sealant (this stuff) at any home improvement store and mix it at a 50/50 ratio with mineral spirits.
- Mineral Spirits or Paint Thinner: Any paint thinner will work, but I always keep a bottle of mineral spirits in my garage so that’s what I use. You can buy mineral spirits online, but it’s much cheaper to pick it up at a hardware store. You need less than a tablespoon for an entire tube of Seam Sealer so get the smallest bottle you can find.
- Tin/Aluminum Can or Disposable Plastic Container: You need something to mix the seam grip and paint thinner in that can be thrown away. Seam sealer dries fast so it will ruin whatever container you’re using to mix the product.
- Mixing Stick: Any small mixing stick will work, but it needs to be disposable. I have a bag of popsicle sticks that I picked up at Walmart.
- Cheap Paint Brush: Get a cheap paint brush that you don’t mind throwing away. Seam sealer gels up fast so your brush won’t last more than a single treatment. Do all of your seams in one sitting to avoid wasting money.
- Business Card, Hotel Room Key, Old Credit Card etc.: A hard flat card that you don’t mind throwing away to smooth out the seams. Professionals can probably get clean seams with just a brush, but that takes a steady hand. Having an old credit card or business card handy will help scrape off the excess product before it dries.
- Damp Cloth: Seam sealers a messy sticky product! It doesn’t matter how careful you are. You will almost always accidentally drip it somewhere. Use the damp cloth to clean up mistakes before it has a chance to dry. Picking off dried seam sealer is a pain so you don’t want to miss a spot.
Shoe Goo Is A Much Cheaper Option
Every silicone based sealing products is basically the same. It’s just silicone mixed with some kind of thinning product to make it easier to apply. The vast majority of people use Gear Aid’s Seam Grip, but Shoe Goo is a much cheaper option that’s almost exactly the same thing.
Shoe Goo comes in a tube that’s almost 4 times the size of Seam Grip and it’s usually a few dollars cheaper. I still recommend thinning it out, but it works just as well as regular tent seam sealers. You can save about $30 if you’re resealing all the seams on a tent or doing any other large product.
How To Thin Seam Sealer and Apply It
Thinning out and applying seam sealer is a fairly straightforward process. Just mix up your seam sealer with mineral spirits or paint thinner, go over the seams with a paint brush, and clean them up with an old card and damp cloth.
It’s that easy! Let’s go over the thinning and seam sealing process in detail so you don’t accidentally mess this up. You don’t want to goop it on and end up with ugly flaking seams. How do you thin seam sealer and apply it?
- Clean Out All Your Seams: Use a wet cloth with soap to clean off all your seams. If the old seam sealer is shedding away you’ll need to pick it off until it’s smooth. Going over peeling seams will leave you with a gunky mess that looks bad and won’t last more than a few seasons without peeling.
- Find A Small Disposable Container: Try to find a short disposable container with a wide opening. Any metal or plastic container with a wide opening will work. I used a cleaned out empty cup of yogurt the last time I applied seam sealer.
- Disposable Stir Stick: You can use any stick that you can throw away. I have a bag of popsicle sticks that my wife uses for stirring paint, but a garbage pencil or pen will also work. Just make sure you’re willing to throw it away afterwards.
- Pour Seam Sealer Into The Container: A single bottle of Gear Aid Seam Sealer does 12 linear feet of seams. You won’t need much if you’re only doing a small puncture, but it will harden in the tube within 1 year. I usually use the entire bottle at once and redo all the seams, but you can use less if you only want to do a small area. If you’re doing a full tent you can save money by using clear window silicone that goes into a caulk gun from. I used Clear GE Advanced Silicone the last time I sealed my tent and you can pick it up at home depot for less than $10, but it’s closer to a 50/50 ratio of silicone to mineral spirits.
- Mix In Mineral Spirits or Paint Thinner: Mix in your mineral spirits or paint thinner in a 3 parts seam sealer to 1 part mineral spirits. Some people like a 50/50 mix, but that ends up runny. If you’re using an entire tube of seam sealer go light with the mineral spirits at first, because you don’t want to overly thin the mixture. Slowly work it in using the stir stick, until the mixture is similar to the consistency of olive oil. It should stick to the brush without dripping and brush on in a thin even layer.
- Try Out Your Mixture Before Applying: Dip the tip of your brush in the mixture and get a little bit on the end to test the consistency. Try it out on a piece of cardboard or something that you won’t mind throwing away. If the mixture runs you need more seam sealer and if gobs up you need more paint thinner. It should go on in a thin even layer without running.
- Apply Thinned Seam Sealer To Your Seams: Use your brush to go over all of your seams that need to be repaired with the seam sealer. Try to keep a steady hand so you won’t have to clean up the area afterward. Remember that seam sealer will start to gunk up within 3 minutes so do small sections so you can clean them up before they harden.
- Clean Up The Seams With A Card: Use an old credit card, hotel room key, playing card, or business card to clean up the seams. Angle the card towards the seam and run it over any area with excess seam sealer. If you wait too long to clean up the seams it will start to gunk up and you’ll be left with an ugly mess that will start peeling within a year or two.
- Use A Damp Cloth To Clean Up Spills: Run a damp cloth over any mistakes or spills that you made before it hardens. You only have 3 minutes to clean up spills so use the rag as you’re going along. If you miss a spot it will be much harder to pick off afterwards.
- Give Your Seams Time To Dry: It only takes 30 minutes for your seams to be dry enough to touch them, but it takes 24 hours to completely dry. If you don’t give it 24 hours the seams may stick to the surrounding material if it’s touching it.
You Shouldn’t Need More Than One Coat Of Seam Sealer
A little bit of seam sealer goes a long way. Thinning out seam sealer allows it to get down into the seams and penetrate the stitching. It shouldn’t take more than one coat of seam sealer to waterproof your seams.
The only time you might need to reapply is if you missed a spot or end up with gobs of sealer that needs to be picked off. It’s hard to pick away just the top layer so you end up damaging the entire area and ruining the waterproofing.
Seam Sealer Hardens Fast After Opening The Tube
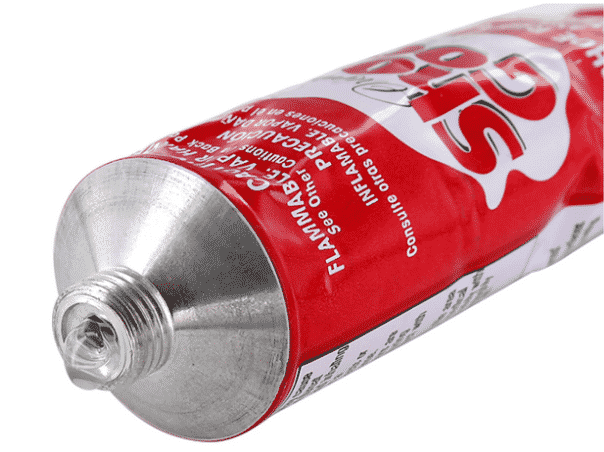
Seam sealer has a long shelf life when it’s unopened, but the insides will start to harden once it’s exposed to air. It won’t last more than 1-2 years once the bottles opened. Seam sealer starts to harden near the top of the tube and works it’s way to the bottom over the next year.
The top of the tube will harden fast, but there may still be good sealant on the bottom. If that happens you can cut off the bottom end to use the remaining product before it hardens.
I usually try to redo all of my seams at once on a piece of gear. If one seam starts to fail, the rest will be soon to follow. It’s much easier to do all your seams at once and you won’t have to worry about the bottle hardening in storage. Seam sealer isn’t cheap so you don’t want to waste it.


