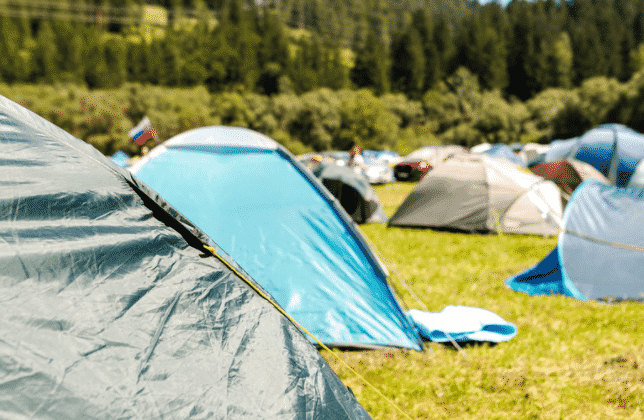
Camping on a hot summer day is one of my favorite things in life, but trying to settle down for bed can be a nightmare. Tents are really good at capturing heat, but they rarely have the ventilation to let it escape. This can lead to a restless night where you’re drenched in sweat struggling to cool off. Luckily, there are ways to cool off a tent, but let’s ask a simple question. Why do tents get so hot?
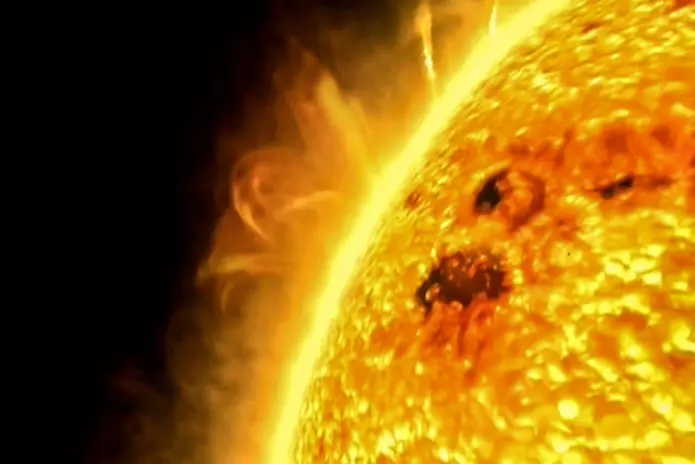
Tents heat up when there’s direct sunlight shining down on hot summer days (greenhouse effect). That’s why most high-quality 3-Season tents have sidewalls and ceilings that are made out of mesh to allow heat to escape. Cool off your tent by opening up the windows and doors to improve airflow and you can also loosen up the rainfly by pulling it away from the sidewalls. You may want to leave the rainfly off if there’s no chance of rain.
Most people that camp in the summer have had to deal with a camping tent that’s uncomfortably hot. Throughout multiple decades of camping I’ve learned a few tricks to keep my tents cool on even the hottest summer days.
In the rest of this post I’ll explain why tents heat up in the summer and give a few tips for cooling down a hot tent. Some tents have better ventilation than others, but you can always find a way to cool down a hot tent.
Table Of Contents
Why Do Tents Get So Hot?
Tents can get unbearably hot in the summer. Leaving your tent up all day in the summer will have a crazy effect on the temperature inside your tent. It’s almost like locking yourself in a hot car. The outside temperature may only be 80°F, but it can easily reach 100°F+ by the end of a hot summer day.
There are lots of reasons why your tent could be hotter than normal. Poorly ventilated tent designs are the main reason, but there are ways to keep even the cheapest tents cool. Here are the main reasons why your tent is getting so hot.
- Tent Went Up Early In The Day: Pitching a tent early in the day during the summer is asking for heat issues. If you put your tent up at 10am the sun has 10 hours to slowly heat up the tent to unbearable temperatures. You can avoid this problem by waiting until the sun starts to go down to setup your tent, taking it down in the morning, and waiting to re-pitch when you need to use it again. This isn’t a perfect solution, but it will significantly reduce the temperature inside your tent.
- Direct Sunlight: Reducing the amount of direct sunlight will have a significant impact on the temperature inside your tent. The suns not out when you first go to bed, but you’ll be uncomfortably hot when the sun starts to rise in the morning. The sun rises due east so try to pitch your tent on the west side of a tree so you can get shade in the morning.
- Poor Ventilation: Cheap tent tend to have terrible ventilation since it costs more to install mesh roofs and sidewalls. You have to go into the $100-$200+ range depending on tent size before you see well ventilated designs. Try to avoid cheap Coleman or Ozark Trail (Walmart) tents, because they have small windows/doors and terrible ventilation.
- Improve Windflow: Try to set up camp in areas that will increase the amount of wind blowing through your tent. Avoid natural wind blocks like trees, bushes, hills, large rock walls, etc. Setting up camp in an open area at the top of a hill with moderate shade is your best bet in remote camping areas. Wind usually blows west-east so setup your largest mesh opening facing west or if you shut the door at night keep your windowed walls facing west/east.
- Wrong Type Of Tent: The vast majority of tents that are sold are 3-Season tents. These tents have mesh sidewalls and roofs to increase ventilation in the spring, summer, and fall. 4-Season tents are designed to trap heat by reducing ventilation so they’ll be uncomfortably hot in the summer (15°-25° Warmer).
- Dark Tents: Dark tents block sunlight allowing you to sleep later, but they also increase the temperature of the tent. Lighter fabrics reflect heat and dark fabrics absorb it. So going with a light colored 3-Season tent should reduce the temperature a little bit.
- Rainfly Clings To Tent Walls: Bring your rainfly in close to the tent on rainy days and spread it away from your sidewalls on hot dry days. This will improve the airflow through the mesh sidewalls/roof and windows.
5 Ways To Cool Down A Hot Tent
Choosing the right tent will have the biggest impact on your comfort on hot summer days. It’s worth spending the extra $50-100 on a well designed tent with extra ventilation. If you’re staying in a campground or traveling a short distance into the wilderness you don’t even need to spend the extra money on lightweight tent.
There are plenty of well ventilated 3-4 person tents with fiberglass poles in the $100-150 price range. If you’re on a tight budget and not worried about trail weight, I recommend going with a 3-Season Alps Mountaineering, Mountainsmith, Kelty, or REI Co-Op tent. They offer well ventilated designs at reasonable price points.
Going with a cheaper Coleman, Ozark Trail (Walmart Brand), or other no name tent will be a recipe for frustration. They’re fine for cool spring/fall nights, but they cheap out when it comes to ventilation. Sewing in mesh walls, roofs, and bigger windows/doors increases price, so that’s where manufacturers cut costs with budget tents. Once you go over $100 you should be able to find lots of well ventilated tents.
So how do you cool down a hot tent? The key is reducing direct sunlight and improving airflow. Now lets go over the 5 best ways to cool down a hot tent.
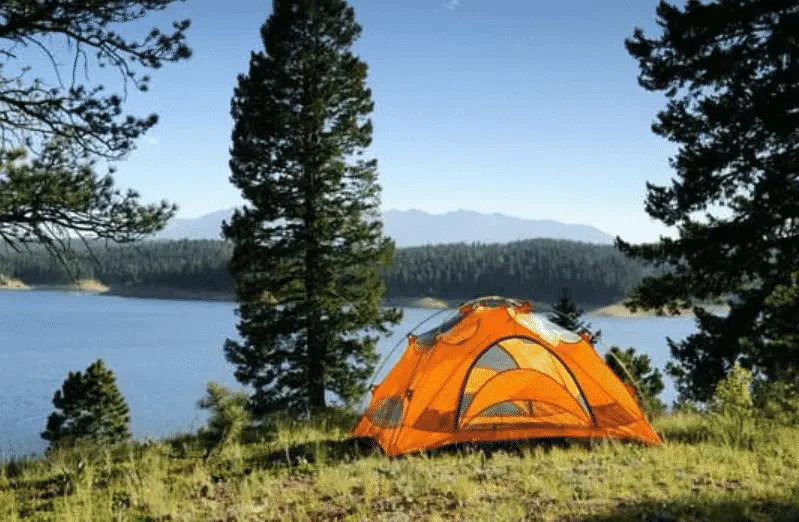
Method 1) Pitch Your Tent In The Shade To Reduce Heat From Direct Sunlight
Pitching your tent in direct sunlight will significantly increase the temperatures inside your tent during the day. It won’t be as bad once the sun goes down with a properly ventilated tent, but you’ll be miserable in the morning.
I’m sure you’ve heard of the “Greenhouse Effect”. That’s how the earth’s atmosphere traps the suns heat/radiation and then slowly releases it back into space at night. Tents trap heat in a similar fashion. They absorb direct sunlight during the day and slowly releases it back into the outside air.
Reducing the amount of direct sunlight will slow down the heating process giving your tent’s ventilation system a chance to catch up. Poorly ventilated tents won’t be able to release heat fast enough to catch up with the sun on fast days.
This leads to a tent that keeps getting hotter as the day goes on. By the time the sun goes down your tent will be unbearably hot and slowly cool throughout the night. Once the sun comes back out the cycle repeats itself making you miserable in the mornings.
If you wake up sweating every morning there’s probably an issue with your tent’s ventilation system that needs to be addressed. Setting up camp in the shade and opening doors/windows will help, but you should consider buying a tent with better ventilation.
Pitch Your tent In The Shade To Reduce Direct Sunlight

Pitching your tent in the shade will help reduce the temperatures inside your tent. Just remember that you shouldn’t look for where the shade is while you’re setting up camp. Most people don’t hang out in their tent all day so it doesn’t matter where your tent is during the day.
Try to visualize where there will be shade in the morning since you don’t have to worry about shade at night. The sun rises in the east so the west side of a tree will offer shade in the morning. That’s where you want to setup camp so you won’t be hot in the morning.
Choose A Light Colored Tent To Reduce Heat Buildup
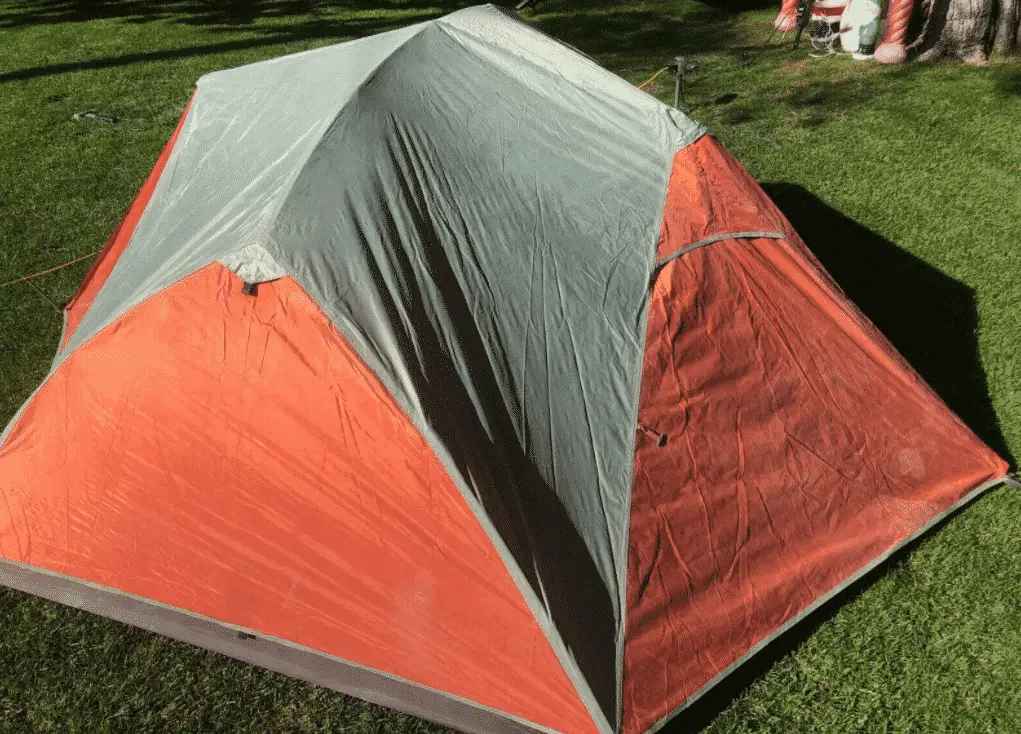
Dark colored tents block out sunlight making it easier to sleep, but they also absorb sunlight. Lighter colors reflect sunlight, and dark colors absorb it. That’s why most 3-Season tents use light colored designs (light grays, whites, greens and blues).
Going with a lighter colored tent will reduce the amount of heat your tent absorbs, but it will let in more sunlight in the morning. Hopefully you’re a morning person, because you’ll be waking up whenever the sun comes out. Shade will allow you to sleep in a few hours longer without sweating like crazy, but you won’t be able to sleep in past 9am.
Method 2) Increase Ventilation To Get Rid Of Heat
Increasing ventilation inside a poorly ventilated tent won’t be easy, but there are a few ways to improve airflow cooling down the tent. The main way to increase airflow is to open up all your doors and windows, and make adjustments to the rainfly. You can also increase the amount of wind that flows through your tent, and setup portable fans, but I’ll go into that later.
Increasing airflow isn’t just about cooling you off. It also plays a huge role in reducing condensation. Condensation is almost impossible to avoid on hot summer nights. Your tent walls, sleeping bag, and all your gear will be completely drenched by morning in a poorly ventilated tent. I’ve woken up to condensation dripping on my face when I’ve shut my windows and doors on hot nights.
Reducing moisture inside your tent will help help reduce condensation, but it’s impossible to completely eliminate moisture. The average person sweats 2+ liters of water each night and you release water vapors every time you breath. All that water will evaporate and settle on your tent walls if you close up the tent at night.
Look For Tents With Mesh Sidewalls and Roofs
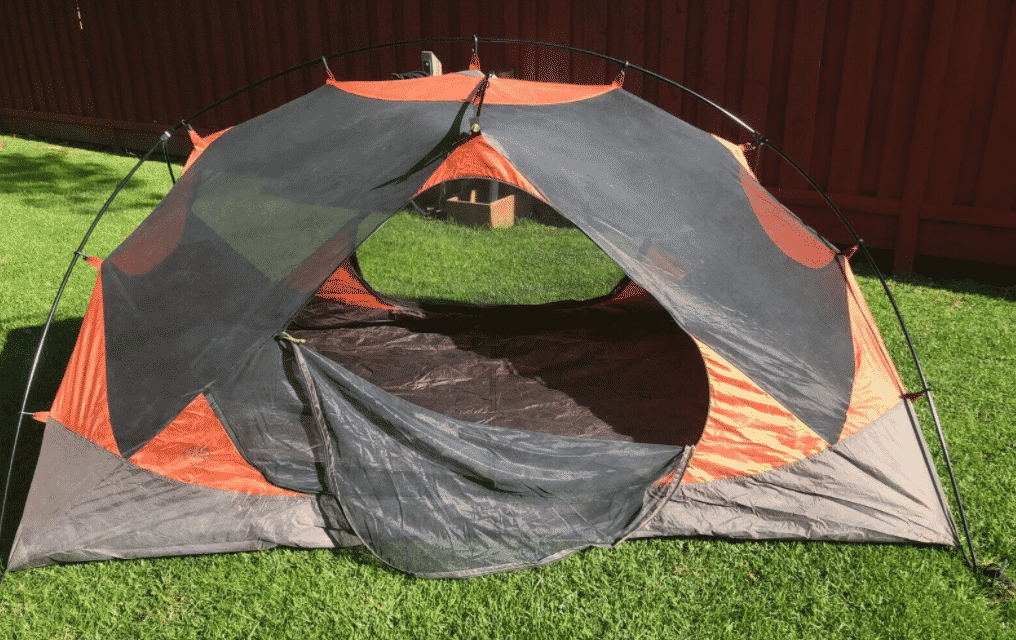
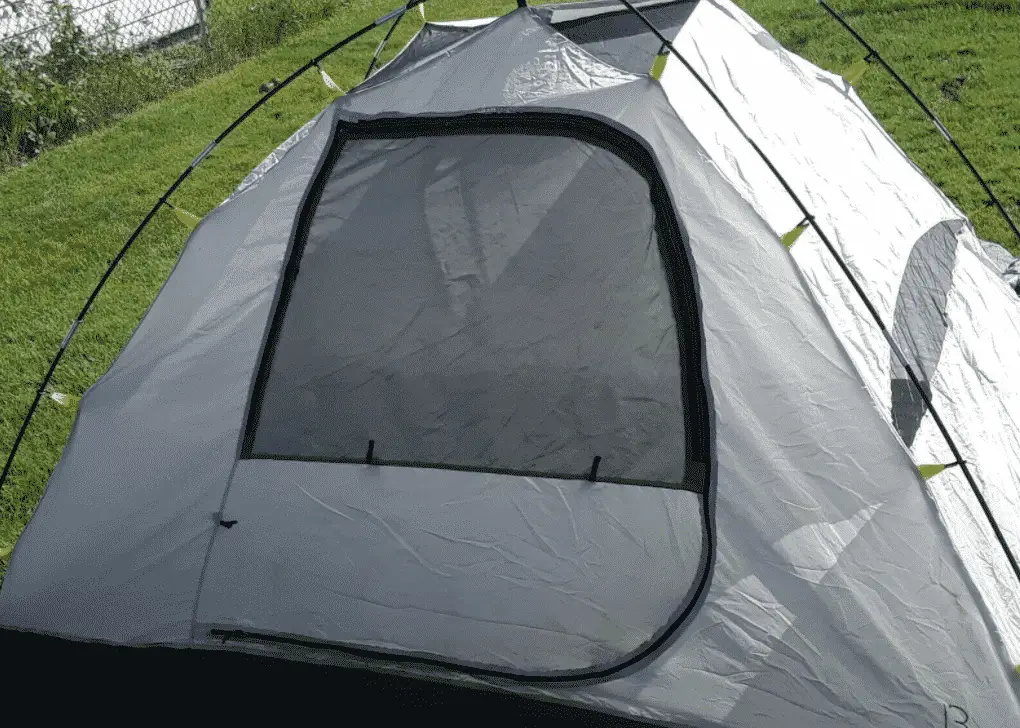
As you start moving towards higher quality tents you’ll start to see designs with walls/ceilings that are completely covered in mesh. Mesh is more expensive than sheets of nylon and polyester so budget tent manufacturers cut costs by reducing the amount of mesh used in the tent.
Cheap tents usually have 2 small mesh windows on each side and a larger mesh opening at the door. Going with a tent that has open mesh sidewalls and roof will allow heat to escape faster and help wind blow through the tent.
I recommend looking for a tent that has mesh running as far down the wall as possible. There should be a waterproof bathtub floor running a foot up the sidewalls, but the rest of the tent can be made out of mesh. A tent’s rainfly is what’s used to protect against the elements so look for a tent with as much mesh as you can find.
Open Doors and Windows
Expensive tents rarely have windows since they use massive mesh sidewalls to improve airflow. So you only see zippered windows on cheaper tents that don’t have rainflys running all the way down the sides. They cut costs by shrinking the rainfly and use zippered windows to protect you from rain.
Most people prefer privacy at night, but try to avoid zipping up the windows and door on your tent. This will help improve airflow giving you a breeze at night and allow heat to escape once the sun rises in the morning.
Adjust The Rainfly To Increase Ventilation
Rainfly’s are the protective layer that wraps around your tent to protect against wind and rain. The rainfly should be pitched close to the tent to divert water away from your sleeping area when there’s a chance of rain. On hot dry nights you can extend your guy lines drawing the rainfly away from your tent walls to increase ventilation.
You may want to consider ditching the rainfly completely when there’s no chance of rain. You can usually predict if there will be rain, but leaving my rainfly off has led to me waking up to rain and needing to scramble to put my rainfly on.
Consider Using A Tarp Over Your Tent
You might want to consider leaving your rainfly off and placing a tarp over the top of your tent. Use trees and guy lines to spread a tarp over top of your tent. The tarp will work like a makeshift rainfly blocking 99% of the rain, improve ventilation, and give you a shaded spot to setup your tent.
There are ways to setup a tarp without trees, but you’ll need to get creative. Use telescoping tarp poles when you’re backpacking or drive a pvc pipe into the ground to give you tie off points.
Method 3) Think About Wind Direction To Improve Airflow

Try to get an idea of how the wind is flowing around your campsite. Wind usually blows from west to east throughout most of the United States. There are some exceptions to that rule, but setting up your campsite with the largest mesh opening facing west is the safest bet for improving wind flow.
You should also think about natural wind barriers that block the flow of wind. Don’t setup your tent right next to your car, near bushes, hills, or large tree rows. In remote camping areas I like to setup camp at the peak of a hill to improve wind flow. This also helps divert water away from your campsite which is an added bonus.
You may want to leave the door open at night to improve airflow. Definitely keep your door open if you don’t have a mesh sidewall and roof, but it’s usually not necessary with well ventilated designs.
This method obviously works better with well designed tents, but it will also help with cheap 3-Season tents. If you’re using a cheap tent with small windows it’s better to face your door into the wind. Most tents have mesh screens in the door and large rear windows so that’s the best
Method 4) Use A Hot Weather Sleep System
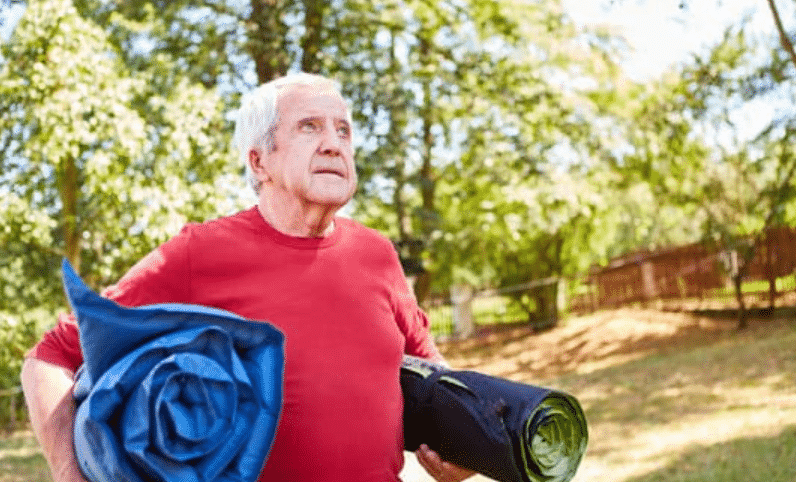
Choosing the right tent is the most important part when it comes to decreasing the temperature inside your tent, but you can’t forget about your sleep system. It won’t reduce the ambient temperature inside your tent, but choosing the right sleeping pad/bag will help keep you cool inside the tent.
Most people plan their sleep system around stay warm on cold nights, but it’s just as important in a hot tent. Any comfortable sleeping pad will work, but you need to look for a warm weather sleeping bag so you don’t overheat at night. Nobody likes to wake up drenched in sweat without access to a shower!
Choosing A Sleeping Bag To Keep You Cool
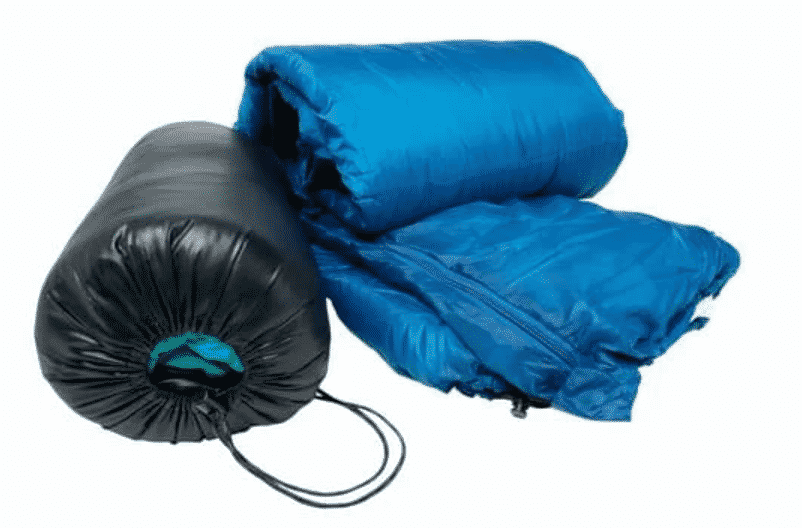
Don’t worry about finding a rated sleeping bag on hot summer nights. Any cheap unrated 3-Season sleeping bag will work. Walmart sells a 50° Ozark Trail Warm Weather sleeping bag for like $10-$15 that’s perfect in the summer. I like to use a Sea to Summit Coolmax sleeping bag liner with my bag in the summer, but it’s expensive.
Warm weather sleeping bags don’t have enough insulation for cold nights and are too bulky/heavy for backpacking, but it’s perfect for most camping trips. You can go with a lightweight 50°F down sleeping bag if you need to cut weight, but I prefer using a sleeping bag liner instead of a sleeping bag when I’m backpacking in the summer.
You can further regulate the temperature in your sleeping bag by unzipping the side zipper and choosing lightweight camping pajamas. Check out my post explaining what you should wear in a sleeping bag for more information.
Use A Sleeping Bag Liner Instead Of A Sleeping Bag
I use a Sea To Summit Thermolite Sleeping Bag liner instead of a real sleeping bag in the summer. It’s lightweight and warm enough to handle nighttime temperatures down to 50°F in the spring/fall and adds 25°F to my sleeping bags temperature rating in cold weather.
If you only plan on camping in warm weather it makes more sense to go with a cheap Coleman Sleeping Bag Liner. It’s lighter than most sleeping bags and has the same temperature rating as a 50°F sleeping bag. Plus it adds 15°F to your sleeping bags temperature rating if you ever go camping in colder weather.
Just remember that every sleeping bags temperature rating is slightly exaggerated. Go with a sleeping bag that’s 15°F than expected nighttime temperatures. That gives you a little bit of wiggle room for temperature swings and helps people that tend to get cold at night.
Sleeping Pads Add Comfort
A sleeping pads primary purpose is to insulate your body from the cold ground, but they also increase sleep quality. Foam sleeping pads are better than nothing, but you’ll want a self-inflating or inflatable sleeping pad for more comfort. Inflatable/self-inflating sleeping pads are almost like a miniature lightweight air mattress.
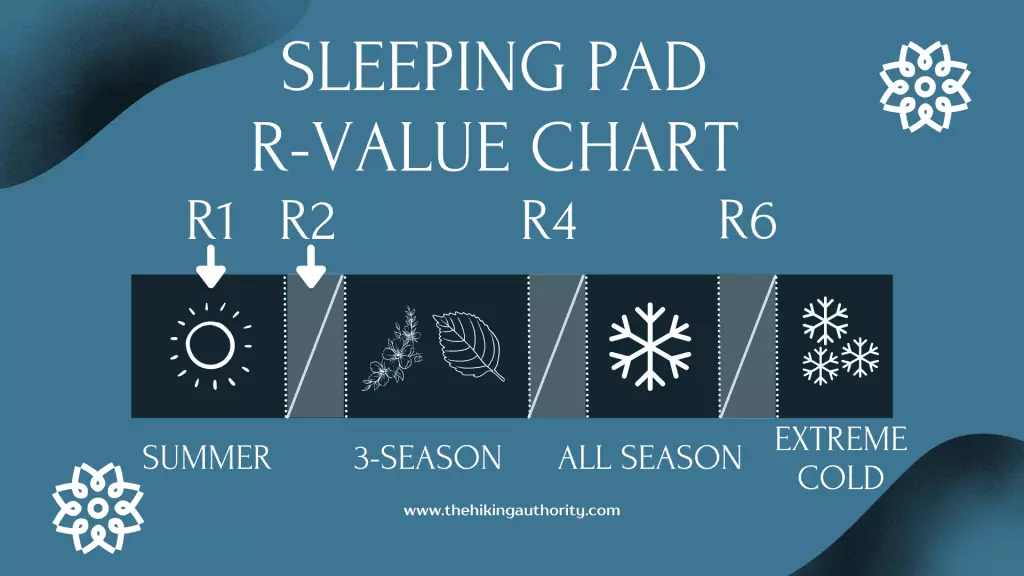
Sleeping pad temperature ratings are measured by their R-Value. As you go into higher R-Values the sleeping pad will offer more insulation from the ground slowing down the loss of body heat. The R-Value doesn’t make much of a difference in the summer, but it’s pointless to buy multiple pads if you ever decide to camp in the summer.
High R-Value sleeping pads won’t make you hot in warm weather so go with the highest rated pad that you can afford. You may also want to consider trail weight if you plan on going backpacking in the future.
If you’re on a tight budget just buy a cheap foam Thermarest Ridrest Sleeping Pad (2 R-Value). It doesn’t offer much padding, but it’s lightweight and warm enough for late spring, summer, and fall use. You can still use a foam sleeping pad even if you decide to go with a more comfortable pad in the future. Stacking sleeping pads combines the R-Value of each pad allowing you to use warm weather pads in the winter.
Go with a more expensive inflatable/self-inflating pad if you have the budget for it since they have higher temperature ratings and they’re much more comfortable. I use an XL Thermarest Basecamp Sleeping Pad (6 R-Value) since it’s much wider than regular sleeping pads.
At 6 R-Value it’s warm enough to be used in the winter, wider/longer than standard sleeping pads at 30″x77″, and has extra cushioning for the summer. The only downside is the weight at 4lbs, but I can’t stand sleeping on a regular sized 20″x72″ pad. It might work for smaller people, but my arms dangle off regular sized pads and I’m constantly rolling off the pad in the middle of the night.
Backpackers might want to consider going with a lighter pad, but I’d rather carry an extra 2-3lbs than be uncomfortable at night. If you only plan on backpacking in warm weather the Thermarest Prolite Sleeping Pad (2.4 R-Value) is an affordable self-inflating pad that only weighs 1lb 2oz. The Thermarest NeoAir Uberlight (2 R-Value) is the lightest inflatable pad I can think of at 8.8oz, but it’s expensive.
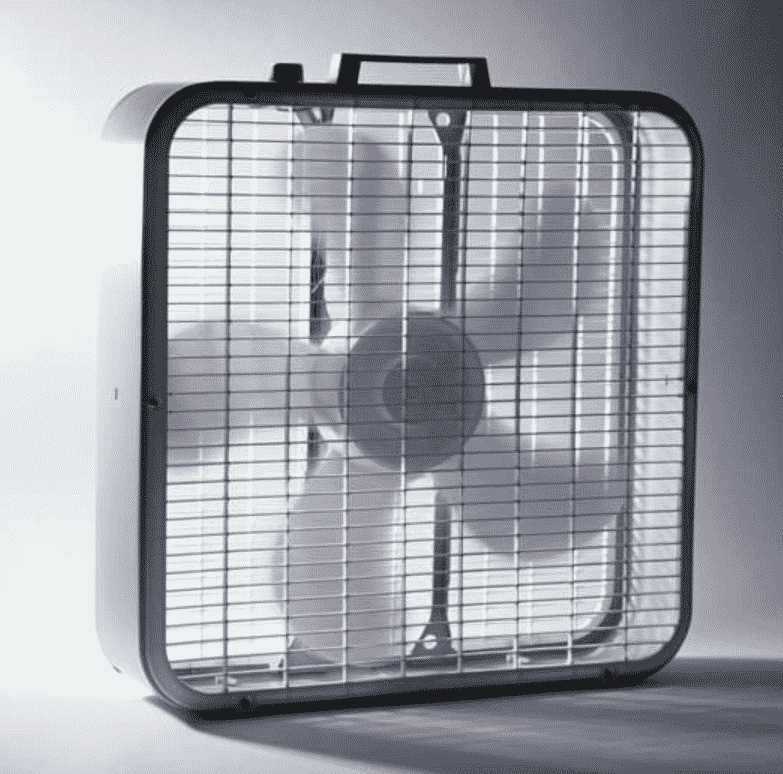
Method 5) Use A Camping Fan or Electric Campsite To Cool Down A Tent
Fans are bulky and heavy so this won’t be possible if you’re backpacking into remote areas, but they’re a great choice if you’re staying in a campground on hot days. There are 2 options for bringing a fan into your tent. You can either choose a battery operated camping fan or pick a Class A Campsite ($5-$10 more per night) that has electrical hookups.
If you’re staying at a campground it’s worth paying the extra money for a Class A campsite in hot weather. Most tent campers choose primitive Class B sites, but having an electric panel nearby is really nice. You can also run a fan off of a portable power station or generator, but those are pricey.
Battery operated fans are hit or miss depending on which one you choose. Most of them are cheap and basically worthless, but I’ll go over better options in the next section.
Battery Operated Camping Fans
Carrying a portable camping fan on a backpacking trip will kill your pack weight, but you may want to consider bringing a battery operated fan if you’re camping in a campground or within a short walk of your car. Reserving a campsite with electricity is another option that I’ll go over in the next section.
There are multiple fans that are labeled as camping fans and they all kind of suck. I have 2 of these O2Cool Fans that I picked up at Walmart. They’re better than nothing, but you don’t get much airflow out of them. It’s fine for cooling down your sleeping bag, but it won’t draw all that much air into the tent.
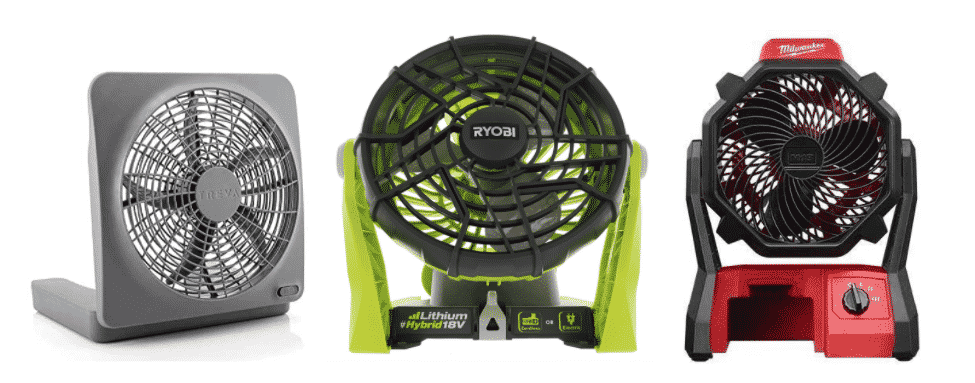
The fans that run off of cordless drill batteries are so much better! If you own a cordless drill that’s been made in the past 5 years there’s probably a fan that will run off your drill batteries. Ryobi, Dewalt, Milwaukee, Craftsman, etc. all sell cordless fans that run off their drill batteries. They make most of the money off the batteries/charger so the fans are usually affordable.
I have a mix of Milwaukee and Ryobi tools so I went with the 18 Volt Battery Operated Ryobi Fan and I love it. It’s so much stronger than every other battery powered fan I’ve used and the battery lasts 12 hours with the small Ryobi battery. You can also buy a kit that includes a battery/charger, but it’s expensive. There’s also a cheaper 4″ clamp on fan that’s really nice as well.
Setup the fan near your door or window so that it blows cool outside air into the tent. That’s great for cooling the tent while the suns out, but you may want to aim the fan at your body once the sun goes down. It might heat up a bit once the sun goes up, but you should be fine if you followed the directions above.
Pay Extra For Class A Campsites So You Can Use An Electric Fan
I prefer backpacking into remote campsites, but the vast majority of people camp at public campgrounds. Most people that camp in a tent choose Class B campsites at public campgrounds. Class B Campsites are cheaper since they don’t offer water, sewer, or electric. That makes sense on most occasions since you don’t have to worry about providing power/sewer/water to an RV.
On hot summer days, it’s worth spending the extra $5-$10 per night on a Class A Campsite. Class A sites are cheaper since they don’t have sewer/water, but you will have electrical access. This isn’t necessary on cooler nights, but it makes a huge difference on 80°-90° Fahrenheit nights.
Being able to setup a full sized box fan in your tent will significantly improve ventilation. Set the fan up in front of your mesh door blowing cooler outside air into the tent. You can always use a battery operated fan if you don’t want to pay extra for electric, but they won’t be as strong.
Plus it’s always nice to be able to use electric to cook around camp, power a radio, recharge cell phones, etc.. Paying an $5 extra per night for a Class A Site is close to what I’d spend going through disposable propane bottles for my Coleman Camping Grill.


