Throughout the years I’ve been to my fair share of public campgrounds. You never know what you’re gonna get when traveling out of town. Sometimes you end up with a beautiful site surrounded by mature trees. Other times you’re more or less in a parking lot.
Don’t let a lack of trees ruin your camping trip. You can set up your tarp anywhere if you have the right equipment. So what can you do when there are no trees to hang your tarp?
How Do You Hang A Tarp Over a Tent Without Trees?

I’ve had to set up camp in lots of unusual locations. Sometimes you just don’t have any trees to hang up your tarp. It took me a while to figure out a setup that would actually work. Luckily, I found out that with a little ingenuity you really don’t need any trees.
It took a while but I finally lightened up my set-up and really sped up the time it takes to set up my tarp. I had some crazy rigs going on using 2x4s, steel pipes, and PVC. Yes, those setups worked, but they were heavy and just a pain to setup.
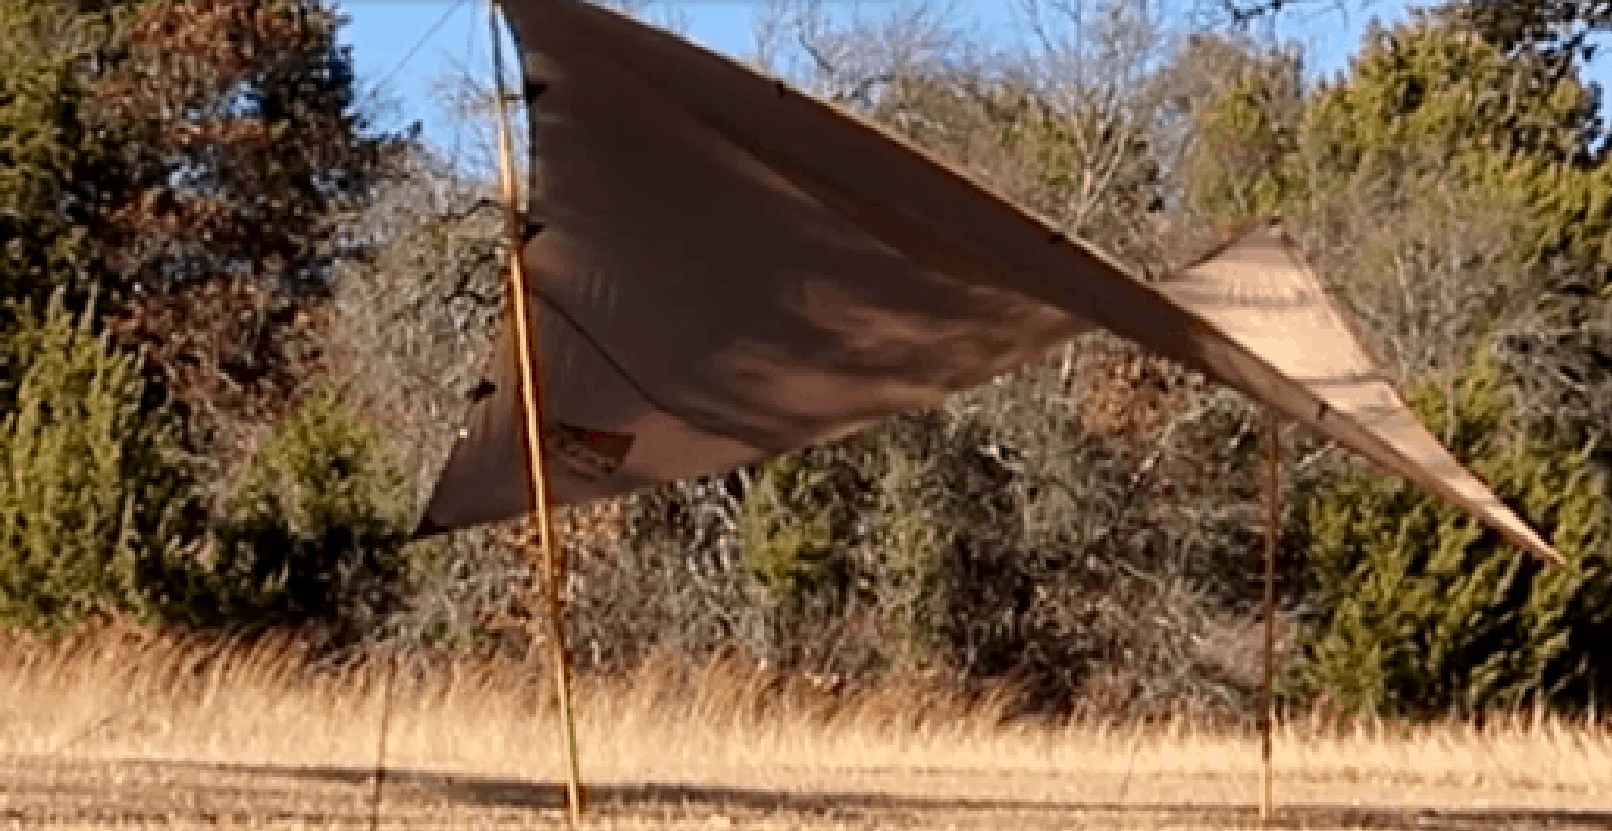
I didn’t realize how stupid those setups were until I bought Kelty’s Adjustable Poles. I’m sure you can use any tarp with Kelty’s Adjustable Poles, but I went with the Kelty Noah Tarp Shelter(Available in 9,12,16 and 20 Feet). The guylines were already attached to the tarp and everything folds down into a tiny package.
What’s great about the Noah Tarp is that only 2 poles are required. It’s big enough to set it up like up a patio awning or you can hang it up over the tent. Regardless of the tarp you buy the setup should be fairly similar(although you might need more poles).
Regardless of tarp type…the setup should be very similar. It is difficult to describe the set-up….much easier to watch. Check out the video below from Kelty. It should give you a good idea of where all the guylines and poles go.
As I setup my tarp I like to pre-cut and measure out my guy lines so everything is good to go once I’m setting up camp. Personally, I like to use these little Guyline Adjuster Things, but you can just tie knots if you like. Do yourself a favor and buy a large carabiner to organize your guylines(all you need to do is clip them on).
Setup your tarp first and then you can put your tent up underneath. I like to use my tarp as an awning, only covering the door, but you can go all the way under if you like.
Figure out where you want the first pole. Make sure there’s enough room on either side of the pole. On the initial set up, it’s easier to have a second set of hands to hold the main pole while finding out where the guylines need to be staked.
Drive the stakes into the ground making a 90-degree angle with the main pole. Determine where the remainder of the poles will be placed by stepping off the same distance on the other side. Remember that you can tighten the poles after the tarp is set up.
This is hard to figure out on the initial setup, but it gets easier every time. After you figure out the correct distance, cut a length of paracord to the exact distance you need. It’s so much easier when you have a premeasured length of cord to assist you in getting your distances correct.
Stake out your remaining guylines and assemble you poles placing them on the ground in the correct position. At this point your main poles don’t need to be vertical. Hopefully you have adjustable poles(like these Kelty Poles), because it’s so much easier to setup when your tarp’s closer to the ground.
Completely unroll/unfold your tarp and get it ready to mount on the poles. This can be hard to do when it’s windy, but once you get the first corner in it gets much easier.
Raise the first corner of your tent and place the top end into the tarps grommet. Loop your 2 guylines over and adjust the height of your pole until you have a little bit of tension in your lines. This is where those 3 hole guyline tensioners come in handy(they make adjusting so much easier).
Hold on the other side of the tarp and walk your way to the opposite corner. Walk over to the opposite diagonal pole and follow the same process. Put your pole into the grommet, loop your guylines and raise the pole. Tension everything up so your tarps stay up. Do the two opposite corners the exact same way, but only use the lines.
Once you’re done go back to every corner, loosen the tension a bit and raise up your poles. Raise it up to the height you like and reset the tension. Remember that on windy days you might want to lower the tarp.
If you notice water starts to pool on the tarp raise/lower the corner poles to drain the tarp. You can even add an extra pole to the center if water really starts to pool.
Make sure you have a couple extra guylines ready to go just in case the wind picks up. If you don’t the tarps going to flap and drive you crazy.
It’s All About Practice
Before heading out for the first time you really need to try this out in your yard. The first time you set up the tarp it’s not going to be easy. Figure it out once and it will get easier every time.
When taking your tarp down slightly loosen the guylines so that next time they’re close to being ready. It’s going to make the setup so much easier the next time you go camping. Remember to wrap your guylines around the stakes so that they don’t get all tangled up.
Don’t Worry!
If the tarp is hard to set up the first time don’t worry about it. You will get a little bit better every time you set it up. Every time you set it up the stakes/guylines will get more dialed in.
Once you figure out what you’re doing it’s actually pretty easy/fast. If you have everything ready to go when you arrive it shouldn’t take more than a couple minutes.
All the prep work really starts to pay off when you actually set up camp.


