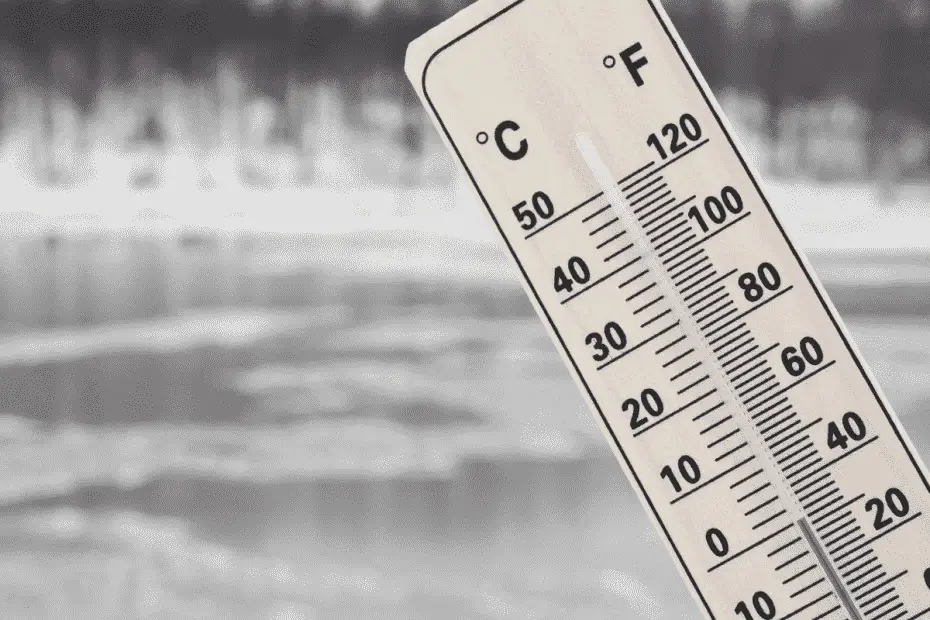
There’s really no set answer on whether or not it’s too cold to go camping. It all depends on your experience level and the type of gear you own. Experienced campers and backpackers can get by in below 0°F, but what about the rest of us? What temperature is too cold for camping?
Nighttime temperatures in the 30°F to low 40°F range are too cold for the inexperienced campers to go tent camping (with cheap gear). You need a cold weather sleep system and your clothes layering system dialed in before you can camp in cold weather. Nighttime temperatures in the 50°F to 65°F range are the most comfortable for camping.
You can camp in lower temperatures, but the average person doesn’t have the gear or skillset required to camp in cold weather. Mountain climbers camp in the freezing temperatures of Mount Everest and researchers deal with -100°F temperatures (or more) in Antarctica, but they have top of the line gear and the knowledge required to stay safe.
It’s possible to camp in colder temperatures, but that’s above the average campers gear ratings and skillset. A typical person with cheap gear won’t get through a single night in 30-40 degree weather.
In the rest of this post I’ll go over the gear you need to camp in cold weather and give you advice for staying safe in freezing temperatures. With the right gear and a few basic tips you should be able to handle freezing temperatures in the 0°-30°F range.
Table Of Contents
What Temperature Is Too Cold For Camping?
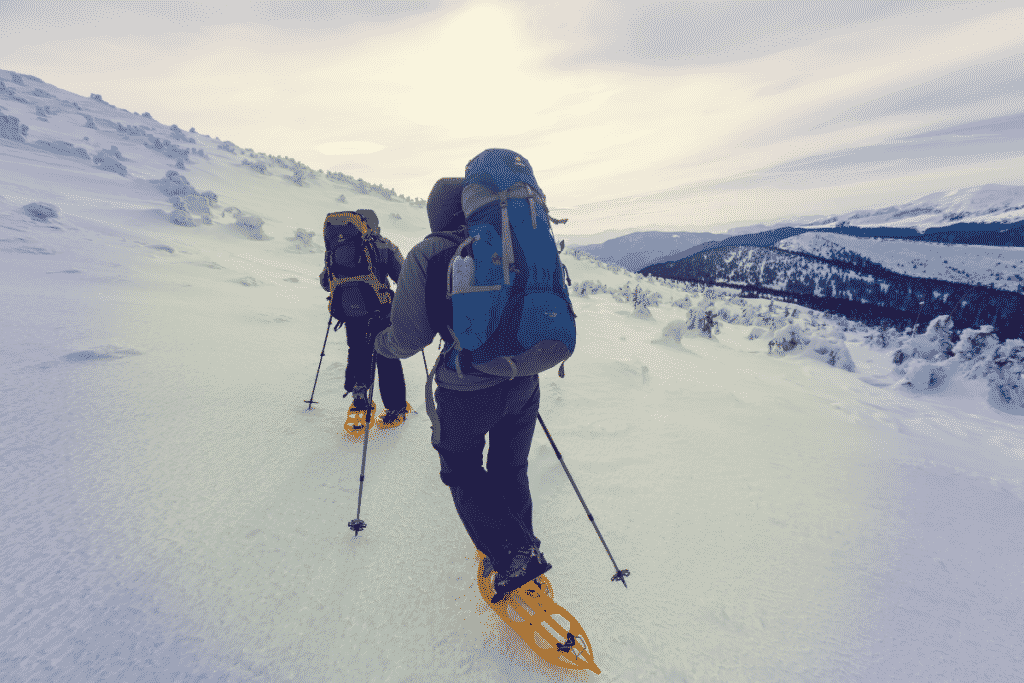
There are a lot of different variables you need to consider before planning a cold weather camping trip. Every persons cold tolerance is different, but there’s a point where it’s dangerous to camp if you don’t have enough experience and the right gear.
Camping in cold weather is all about staying warm! Any mistake you make is amplified in the cold. You can quickly get into a dangerous situation if you aren’t careful. The average person won’t be able to handle one night camping in 40°F or colder weather with budget gear.
You need to practice layering clothes, figure out your shelter and sleep system, and learn to deal with water freezing issues. Once you figure that out you should be able to handle almost any temperature.
What do I need to camp in cold weather? You need to buy a suitable tent, sleeping bag with the right temperature rating, high R-Value sleeping pad, and figure out a layering system that won’t make you sweat.
There are a few basic tips that you need to follow (I’ll explain below), but figuring out your gear is 90% of the battle. Here’s a brief rundown of everything you need to camp in cold weather. I’ll go over a few brief safety tips in the following section or you can click on any of these links to jump down to any topic you’re interested in.
- Buy a quality tent with lots of ventilation to prevent condensation in cold weather.
- Look for a sleeping bag that’s rated 15°F lower than the expected nighttime temperatures.
- High R-Value sleeping pads (4-5+ R-Value) increase the insulation between your body and the cold hard ground
- Figure out a layering system for cold weather camping (base layer, mid layer, shell layer).
- Sleeping bag liners (optional) protect your bag and increase the temperature rating allowing you to use the same bag in a variety of temperatures.
- Read Through My Cold Weather Camping Safety Tips
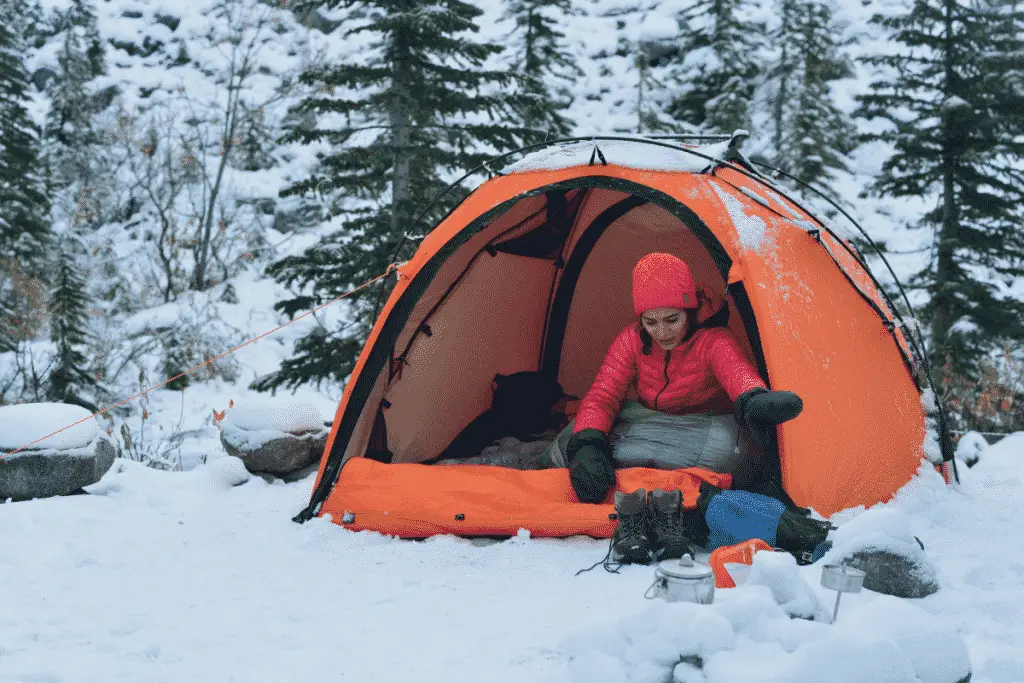
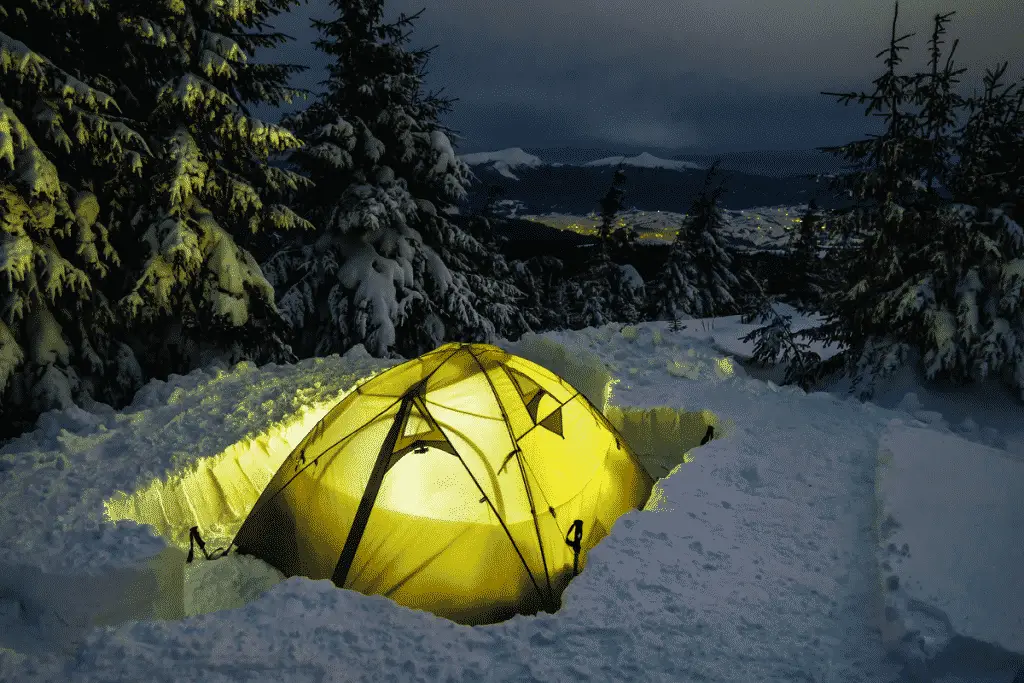
1. Buy A Well Ventilated Tent To Reduce Condensation In Cold Weather

Is it warmer inside a tent? There isn’t much of a temperature difference between a standard 3-Season tent and cold weather tents. Most 3-Season tents are 5°F warmer than the outside air and cold weather tents are 10°F warmer.
The primary purpose of a tent is to block wind, rain, and snow. Most people can get by with a 3-Season tent in cold weather (with light snow). Cold weather tents are designed to withstand heavy snow loads, but you can always brush snow off your 3-Season tent.
Finding a well ventilated tent that resists condensation is your biggest concern in cold weather. Look for a quality double wall tent with large mesh openings to allow moisture to escape (reducing moisture = less condensation). Single wall tents increase the temperature inside the tent, but that’s only necessary in extremely cold weather (mountaineering).
Don’t Bring Wet Gear Into Your Tent!
Never bring wet gear into your tent in cold weather. That’s asking for a crazy amount of condensation. It’s already a struggle to eliminate condensation in cold weather. Don’t add to the problem!
Leave your wet boots outside to dry in a vestibule or cover it up with a tarp. You can hang wet clothing up to dry just like you would in the summer. It might get a little icy, but the sun and low humidity levels will quickly dry your wet gear.
Floorless tents are the only exception to this rule. You rarely have ventilation issues in floorless tents and there’s usually already snow in the floor. I like to setup a dry area in the back of my floorless tent for my sleep system, and leave my wet gear in the front near the door.
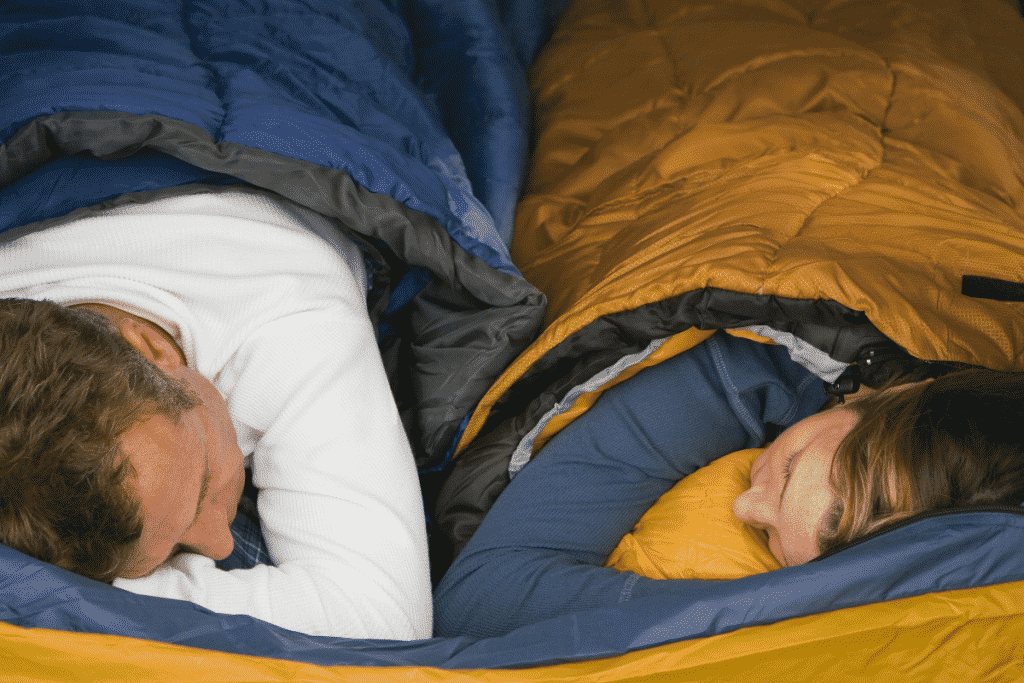
2. Choose A Sleeping Bag That’s 15°F Warmer Than Expected Nighttime Temperatures
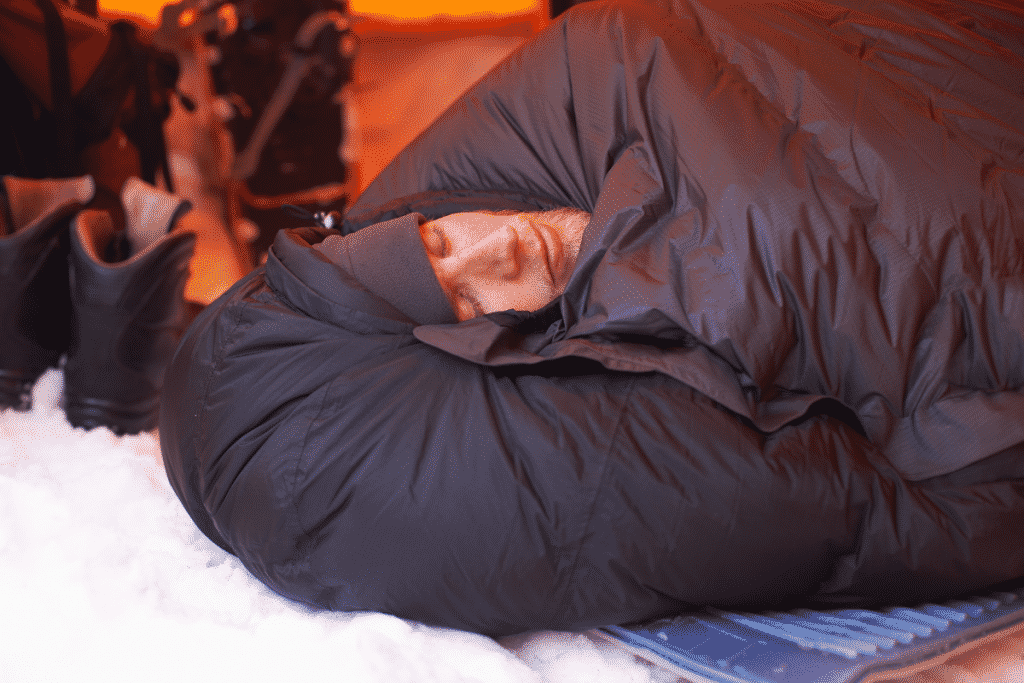
Look for a sleeping bag that’s rated 15°F warmer than the expected nighttime temperatures. Sleeping bag ratings are misleading! The advertised rating is actually the lower limit where people can survive. You shouldn’t freeze to death, but you’ll be miserably cold.
Sleeping bags sometimes advertise a “Comfort Rating”, which is 15° higher than the advertised rating. So if you’re camping in 50°F temperatures purchase a 35°F bag, 30°F needs a 15° bag, and so on. You can also increase your sleeping bags rating with a liner and by wearing extra layers of clothes to bed (I’ll explain more below).
There’s also a big difference between peoples personal sleep preferences. Temperature ratings are based on the average person, but 50% of the population fall below the average. Most people fall into the standard bell curve, but the bottom 25% will be uncomfortably cold at the advertised temperatures. It also applies to the top 25%, but you can unzip the bag to let out heat.
Down vs Synthetic Sleeping Bags
When it comes to temperature, it doesn’t matter what kind of sleeping bag you buy. A 30° down sleeping bag will be as warm as a 30° synthetic bag. The synthetic bag may actually be warmer if it gets wet or the downs been compressed over time.
There would be a weight/packability difference between the two bags, but there’s no difference in warmth. Synthetic sleeping bags are more durable (especially when wet), but down bags are lighter and compress into a smaller footprint.
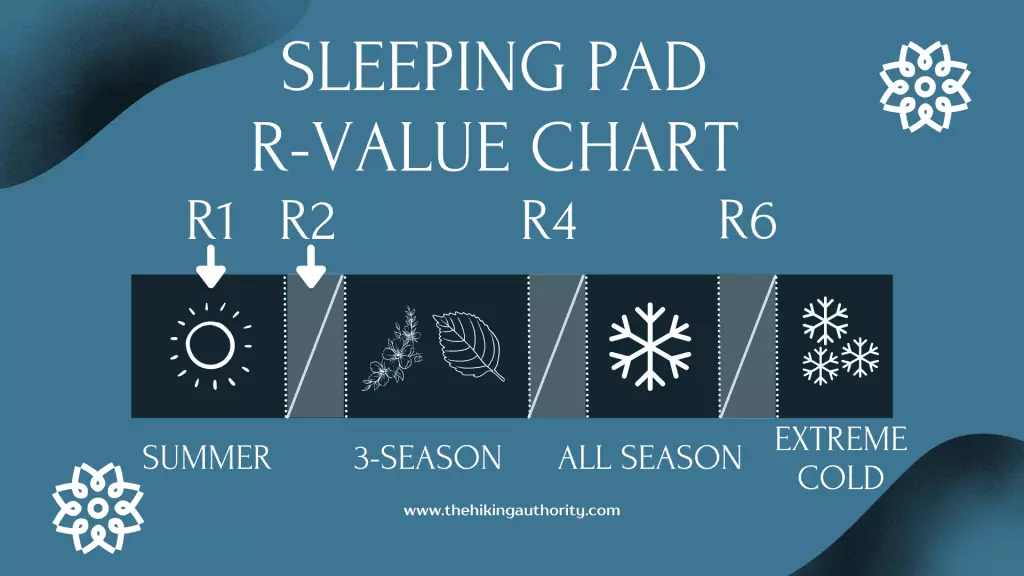
3. Buy a High R-Value Sleeping Pad
I wouldn’t use a foam sleeping pad on it’s own anyway since they’re not very comfortable, but layering foam pads with a 3-4 R-Value pad allows you to use a low R-Value inflatable/self-inflating pad in freezing cold weather. So you don’t have to spend the money on a second expensive 5+ R-Value pad for the winter.
Any 3-4 R-Value inflatable/self-inflating pad will work on its own in spring/summer/fall, but try to get a lightweight pad if you plan on backpacking. Standard sleeping pads are only 25″ wide which is fine for women and smaller men, but bigger people will struggle to stay on the pad. You can also reduce the amount of air in your pad to help and put smaller sleeping pads inside your sleeping bag.
- Summer (60+ Degrees): 1-2+ R-Value Sleeping Pad
- Warm Spring/Fall Days (50-60 Degrees): 2-3+ R-Value Sleeping Pad
- Cold Spring/Fall Days (30-40 Degrees): 3-4+ R-Value Sleeping Pad
- Cold Winter Days (10-30 Degrees): 5+ R-Value Sleeping Pad
- Extreme Cold (Under 10 Degrees): 6+ R-Value Sleeping Pad
Layering Foam and Inflatable/Self Inflating Sleeping Pads
You can layer foam and inflatable sleeping pads so you can use a lightweight sleeping pad in the winter. Most ultralight/lightweight sleeping pads fall in the 3-4 R-Value range so they won’t be warm enough for winter temperatures under 35-40 degrees.
Foam sleeping pads are usually close to 2 R-Value. You can stack a 3-4 R-Value inflatable/self-inflating sleeping pad on top of a foam pad for a combined 5-6 R-Value Pad. I use my ultralight 16 oz NeoAir Xlite 25″x77″ Large Pad (4.2 R-Value) with a cheap Thermarest RidgeRest Foam Pad (2 R-Value) in the winter.
Layering with a foam pad also helps protect your inflatable/self-inflating pad. Ultralight inflatable pads fall in the 150-250 dollar range and they puncture easily. You can patch them up in the field using Tenacious Tape, but it sucks damaging expensive gear.
Your Sleeping Pad Can’t Be Too Warm!
You can save some money by using a high R-Value sleeping pad all year long. It will add a pound or two to your pack, but it’s usually lighter than carrying a secondary foam pad. The only time it wouldn’t be lighter is if you’re using an ultralight/lightweight pad, but they’re ridiculously expensive (close to $200).
The Thermarest Basecamp Self-Inflating Pad is a great choice. It’s a reasonably priced 6 R-Value sleeping pad, available in multiple sizes, and very light for the price. The regular sized 72″x20″ version is 2lb8oz and the X-Large 30″x77″ size is 4lbs.
4. Wear Multiple Layers Of Clothing (Base, Insulating, and Shell Layers)
Layering your clothing is very important while camping in cold weather. You need to have a lightweight moisture-wicking base layer, insulating middle layer, and waterproof/windproof outer shell layer. Most people can get by with just a base layer and insulating layer on moderately cold days, but you the outer shell on rainy/windy days.
- Merino Wool Base Layer: Merino wool is by far the best base layer for freezing temperatures, but you can wear lighter synthetic layers (don’t wear cotton) in warmer 40-50 degree camping trips. Personally, I almost always wear wool, because it’s warm, water resistant, quick-drying, and breathable so you won’t sweat. I like the durability of Smartwool Base Layers, but Merino.tech and Meriwool are cheaper options.
- Middle Layer (Insulation Layer): You have a few options for your insulation layer depending on the temperature. This is what you wear around camp most of the time so make sure the insulation layer is comfortable. In mildly cold weather I’ll typically wear a lightweight fleece jacket or sweatshirt, but once the temps dip into the 30-40s I like a down or synthetic puffer jacket. I may wear the fleece over the down if there’s a chance of snow or rain.
- Outer Layer (Shell Layer): The waterproof/windproof outer shell layer protects your insulating layer from the elements. You only have to wear the shell layer when it’s ridiculously windy or starts to snow/sleet.
- Winter Hat and Gloves: You need to wear a winter hat and gloves since you’ll be outside for an extended period of time. I normally rotate through 2-3 different pairs of gloves depending on the temperature and what I’m doing. My thin leather gloves get used whenever I need finger dexterity, my thick gloves go on when I’m hanging out or hiking down the trail, and I have a set of those cheap stretchy gloves for in my sleeping bag.
- Merino Wool Socks: I’ll talk about boots in the next section, but your feet will sweat if you’re wearing waterproof winter boots. Synthetic socks are OK in warmer weather, but your feet will sweat and it won’t be able to evaporate(leading to blisters). Merino wool socks are a much better option. Your feet will still sweat, but they’re comfortable when wet and you won’t get blisters. I’ve always went with Smartwool Socks since they’re the most comfortable (and durable), but mid-calf merino wool sock works.
Waterproof Winter Boots
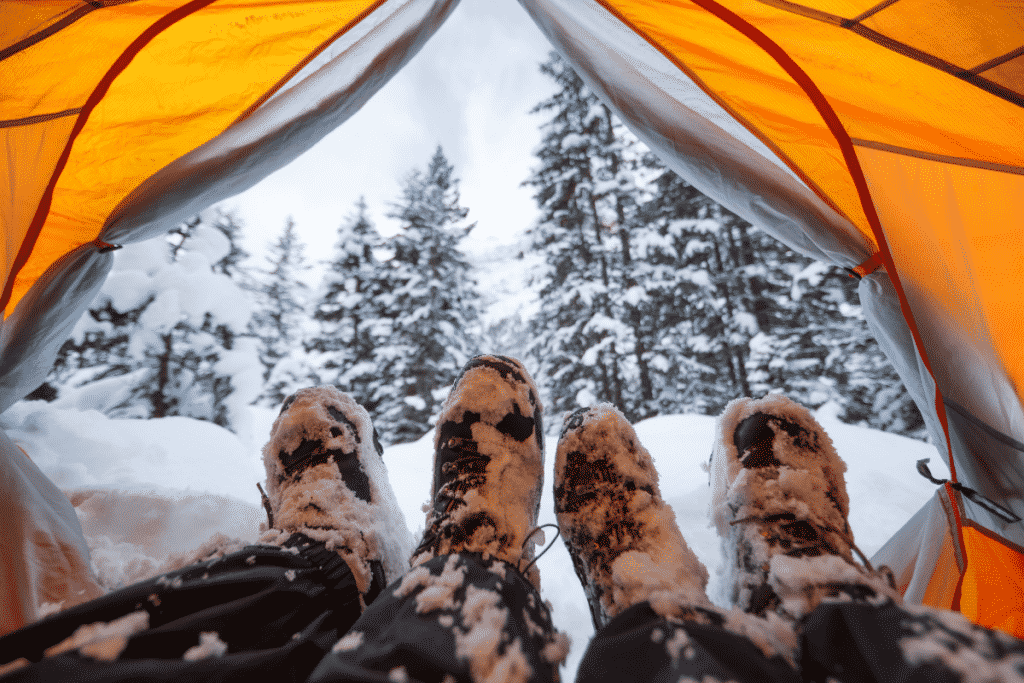
I’ve never found a pair of waterproof winter boots that don’t make your feet sweat. Thankfully that’s not a problem with merino wool socks. Don’t cheap out when looking for winter boots. It’s worth spending the extra money on a pair of temperature rated hiking boots.
I had superficial frostbite blisters on my toes back when I played football and it wasn’t fun. They had to put me on an IV in the hospital and I needed surgery to scrape off the dead skin. My feet are still sensitive, but I’m lucky that I didn’t lose any toes.
Spend the extra money on waterproof Over The Ankle or Mid-Calf winter boots from a hiking company like Salomon (my favorite), Merrell, Keen, Vasque, etc. They have waterproof insulating layers and have designated temperature ratings to make choosing boots easy. A 200g insulated boot is perfect for camping in above 0°F temperatures. You need 400g insulated boots in extremely cold weather.
5. Sleeping Bag Liners Are Optional, But They Increase The Temperature Rating Of Your Bag
A sleeping bag liners main purpose is to protect your sleeping bag from sweat, dirt, body oils, etc., but it also increases the temperature rating of your bag. Sleeping bag liners add 10°-30°+ to your sleeping bags temperature rating.
With a sleeping bag liner, you can use the same bag over a wide range of temperatures. Plus they help protect your bags insulation by increasing the time between wash cycles (water contracts insulation). Liners are optional with the right temperature rating bag, but they do extend the life of your bag.
Pairing the Sea to Summit Thermolite Liner with a 30°F sleeping bag can keep you warm from 20° up to 70°+ temperatures. It adds 25° to your sleeping bags temperature rating and it’s warm enough to be used on it’s own down to 60° nights. There’s a small gap in the 50-60 degree range, but you can add a cheap $10 Ozark Trail bag from Walmart or warm camping pajamas to fix that.
Even a cheap Coleman Liner will add 12° to your sleeping bags temperature rating. That’s usually enough warmth to use any cheap bag down to about 50°F nights, but you need to layer up at night. You might want to check out my post that goes over the clothes to wear in a sleeping bag at different temperatures.
Cold Weather Camping Safety Tips That You Need To Know
I hope you realize that everything gets harder when the temperature drops below 32°F. That’s when water sources start to freeze, snow starts to fall, and you have an increased chance of injury slipping on ice. Every mistake you make is 10 times worse in freezing temperatures.
You need to research the area that you’re camping at ahead of time to get an idea of the expected weather. Knowing when to go could be the difference between a safe and deadly trip. You don’t want to schedule a trip when there’s a high risk of extreme cold and winter storms.
It might not even be possible to reach the trail head in the snow. They don’t plow or maintain any of the roads at state owned campgrounds by me. You can still get a permit to camp, but you’d better turn on the 4×4 and hope you can get out.
I’ll probably forget something important, but here’s a few basic safety precautions you need to take.
- Research the area before planning the trip. Look into the expected weather/temperature conditions and figure out an emergency plan just in case.
- Contact the local ranger station and ask if there’s anything you need to know about the area before the trip. They’ll tell you about changes in terrain, trail closures, general hazards, and how difficult it will be to get to the trailhead. You never know if park roads will be plowed in the winter.
- Go on a trial run to test your gear close to home. When I first started camping in the winter I’d test my gear in the woods behind my house. You just walk back inside if your gear isn’t warm enough.
- Your body burns through way more calories in the winter. It needs to burn calories to calories to pump warm blood to your extremities. So bring more high calorie/fat food than you would in the summer.
- Leave your route plan with a trusted friend/relative and tell them when you’ll be back. I like to send a daily “I’m Still Alive” text and send a ping of my location. You need to have somebody to notify the rescue team of your location in an emergency.
- Have you ever tried to melt snow for drinking water before? It takes about a 5 gallon buckets worth of snow to get 1 days worth of drinking water. You burn through a crazy amount of fuel and it’s hard work. I plan my route around fresh water sources and smash through the ice (don’t forget to filter/purify the water).
- Figure out a backup water purification plan if you plan on using a filter. Your water filter is basically useless if you accidentally let it freeze. When the ice expands/contracts it creates gaps in the filter that will let bacteria through. I carry chemical water purification tablets (these) as a backup to save fuel, but you can also boil the water on your stove or use a UV purifier (Steripen).


