Growing up, trekking poles never made sense to me. Honestly, I thought they were for hikers that weren’t strong enough to hike on their own. Looking back, I know that I was just young and naive. I just didn’t understand how much trekking poles help on the trail.
I didn’t start using trekking poles until 2 years ago. At 27 years old I experienced my first backpacking related injury. After limping my way down a hillside after a minor tumble I decided I would give trekking poles a try.
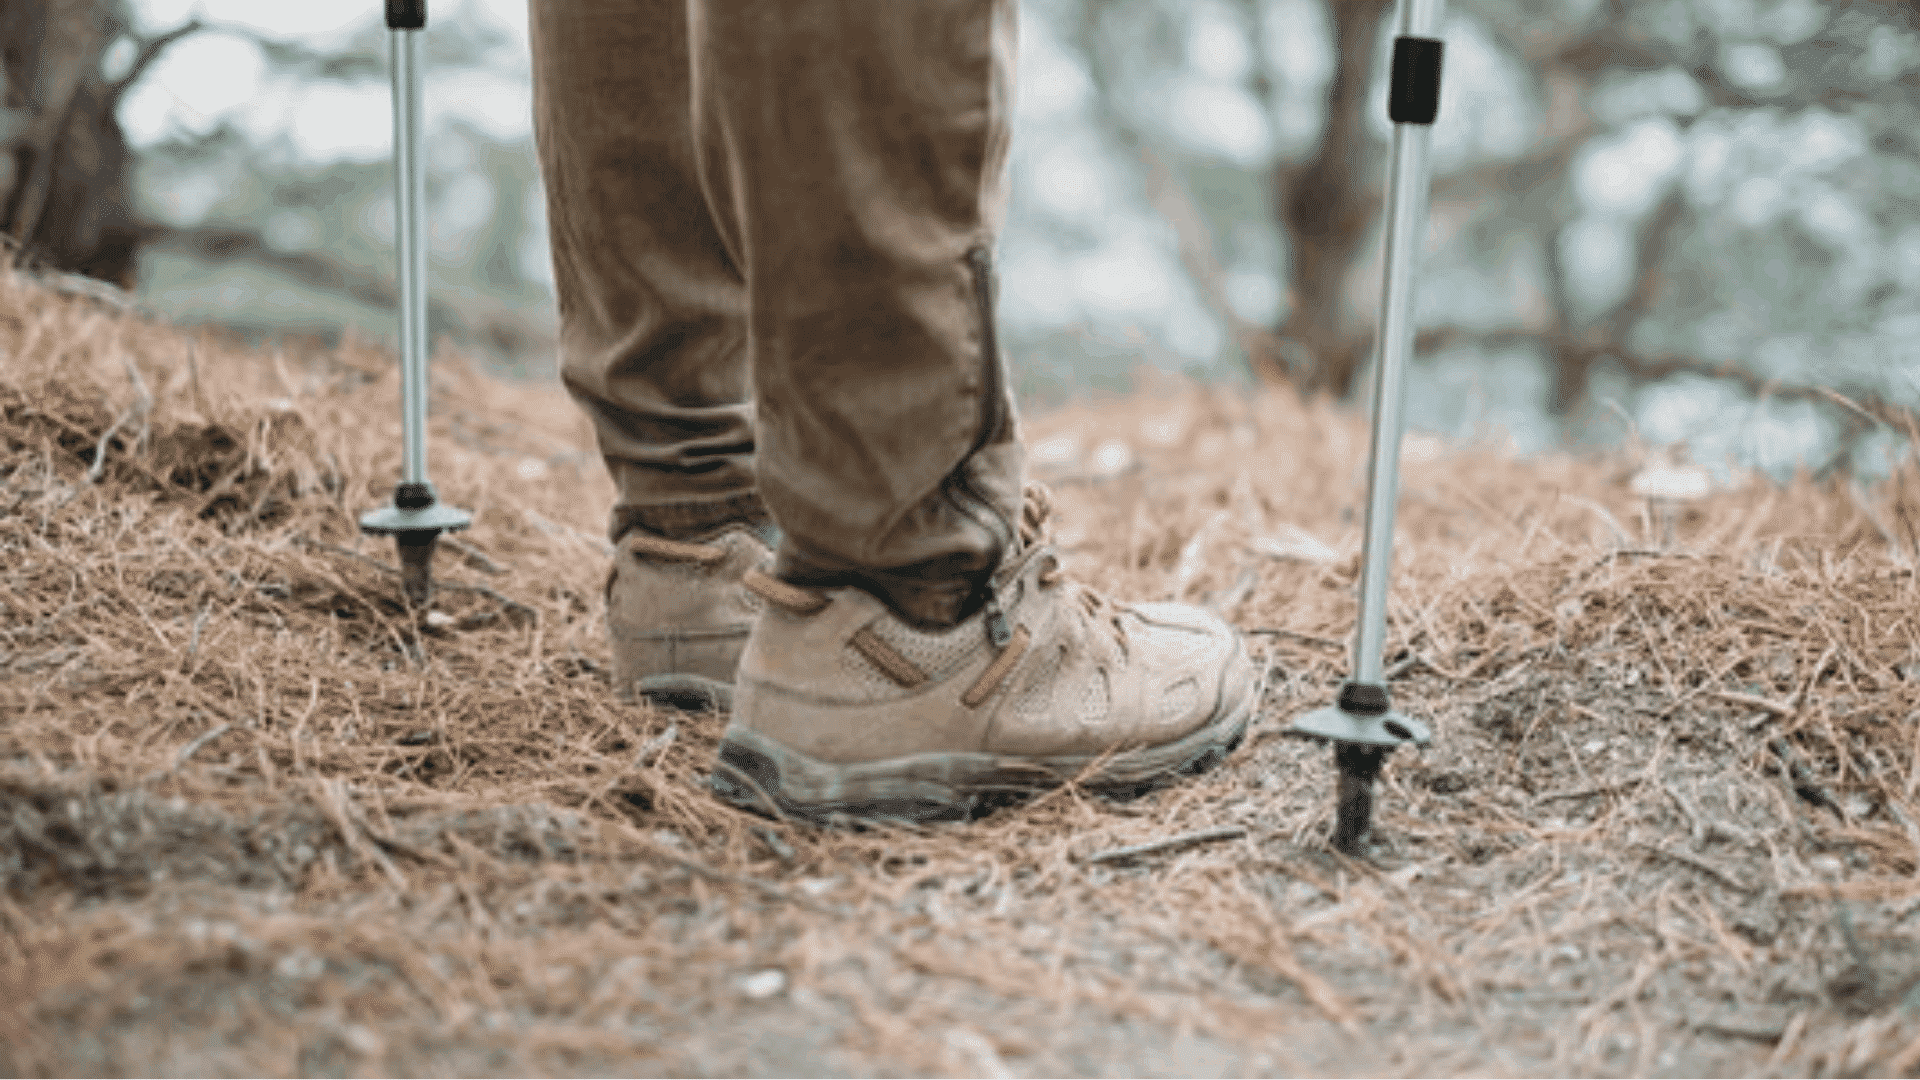
After a little bit of research I settled on a pair of Black Diamond Trekking Poles(On Amazon). I’m sure there are better trekking poles on the market, but these fit my price range while being relatively lightweight and durable.
Table Of Contents
Debatable: Should You Use Trekking Poles?
Using trekking poles reduces the impact on your knees by 25 percent(on the descent) and significantly reduces the chance of muscle strains and ankle injuries. So why would anybody choose not to use trekking poles? Most people don’t know how to properly use trekking poles.
Whether or not you need trekking poles is an individual decision. Some people never use trekking poles while others wouldn’t hit the trail without them. Hike your own hike and buy gear that suits your needs.
Other people find trekking poles extremely useful(I’m in this camp) and swear by them. I think both sides agree that older walkers and anybody with injuries should use trekking poles. When hiking down steep trails the benefits from poles are very obvious. They take the weight off your knees and significantly reduce the stress on your body.
Everybody agrees that trekking poles are great for the old and injured, but they often forget one thing. Trekking poles significantly reduce the risk of injury. So why not stay ahead of the curve and prevent injuries before they happens.
Trekking Poles Allow You To Hike Farther and Faster
I thought I was in peak shape before using trekking poles. I was under the impression that trekking poles make you weaker. Looking back, this thought-process is mind-boggling to me.
Throughout the past couple of years I’ve realized that I’m able to hike farther, with more gear and less knee/back pain. Plus I’m way less likely to get injured on long hikes. It’s crazy how many more miles I’ve logged thanks to my trekking poles.
Think of your poles as having two extra legs to carry the load. You’re spreading the pack’s weight over two more surfaces allowing you to hike faster over longer distances. Past research indicates that trekking poles reduce the load on your knees by 25 percent. I might not be a scientist, but I can feel the difference on the trail.
Some Quick Trekking Pole Tips
Here are a few helpful tips for using trekking poles. Continue reading below for more information on adjusting and using trekking poles.
- Think Like a Monkey: Try to think about how monkeys walk and run. They walk mostly with their legs only using their arms for additional support. Use the trekking poles like extensions of your arms planting the front pole with the opposite foot. As you step forward with your left leg push forward with the right pole. Eventually, your movement should be fairly fluid.
- Shorten Poles Uphills: When traveling uphill shorten up your trekking poles. I usually set my poles slightly above 90 degrees and grab lower on the pole while traveling uphill. If I’m expecting a long steady elevation gain I might shorten my poles 3″-4″ never going below my waist.
- Lengthen Poles Downhill: Longer poles are always better for descending steep hills. They take the weight off your knees/back and add additional support on uneven ground. When using fixed-length poles you should always go a few inches longer than you think you’ll need.
- Tighten Up Wrist Straps: When wrist straps are properly tightened they provide support for your hands and wrists. Most people use wrist straps that are too loose. Your straps should provide support for your hands allowing you to hold the poles without over-gripping.
- Hands Through Bottoms of Wrist Straps: Slide your hand through the bottom of the strap(sliding from the top risks injury) and adjust the strap so it fits snugly without cutting off circulation. If your hands are sore at the end of the day you aren’t properly using wrist straps.
How to Adjust Trekking Poles

Trekking poles will make a huge difference, but you need to learn how to use them. If your poles aren’t properly adjusted, they won’t do you any good.
Properly using your poles all starts with the proper adjustment. With the right setup, trekking poles should make your hike both easier and safer.
Fixed Length vs Variable Length Poles
Most hikers start off with fixed length poles and eventually switch over to adjustable length. I actually started off using the Black Diamond Distance Z Trekking Poles (On Amazon). They travel easy thanks to the folding design and they’re made out of lightweight aluminum.
If you’re in between fixed-length pole sizes it can be hard to find the perfect length. As a trail-runner, you’ll want shorter poles for better uphill propulsion. Hikers and backpackers should choose longer poles for increased stability and support.
Eventually, I switched over to adjustable length poles because they’re easier to use with shelters. Before purchasing my adjustable poles(my poles On Amazon) I planned on adjusting them on the fly for downhill/uphill travel.
After a while adjusting your poles for elevation changes starts to get annoying. I would never stop to adjust them and I could never seem to get the right length anyway. It didn’t make much of a difference to shorten my poles for uphill and lengthen for downhill. So I just decided to stick with a slightly longer pole, because it seemed to improve my stability.
Adjusting The Trekking Pole Length
The optimal pole length depends on the terrain and personal preference. Most experts recommend a 90-degree pole angle relative to your elbows. Personally, I like to keep my poles a few inches longer. I think the longer pole setting helps me dig in and push-off, but results may vary.
Honestly, I don’t think it’s necessary to adjust your poles at every hill/dip. I usually adjust my poles for long inclines/declines, but it’s not necessary on short 100-200ft elevation changes. It’s just a pain in the butt to stop, adjust your poles and start up again. You’re better off sticking to a happy medium.
On most hikes, I adjust the length when I hit the trail and if I’m expecting a long steady elevation. You rarely go up/downhill for more than 1-mile at a time so you’d be adjusting constantly. Once I get my poles locked in it’s just not worth the constant headache.
Adjusting For Level Terrain
Adjusting your trekking poles is a fairly straightforward process. With 3-piece adjustable poles adjust each section equally. You don’t want to have the top 1/3 fully extended without extending the lower portion.
Start off with tips of your trekking poles 2″-3″ below your armpit. Your arms should be close to parallel with the ground. Experts recommend setting your poles 90 degrees to your arms, but I like my poles a little longer. The added length gives me extra stability on difficult terrain and helps me push off.
You might feel a little silly using trekking poles on dead flat trails, but once the going gets rough you’ll be happy you brought them. Navigating through rocks, roots, and streams is so much easier with trekking poles.
Adjust For Uphill Travel
I rarely adjust my poles when traveling uphill. Most of the time I just grab a little bit lower on the grip. Trekking poles usually have a 4-inch extension below the main grip so you don’t have to adjust the poles every time.
If you are going up a short steep section just grab the shaft farther down and switch to the regular grip at the top. I actually added baseball bat grip tape(On Amazon) to the top of my trekking poles to extend the grip a bit. It might not look pretty, but boy does it work.
If I’m expecting a long steady incline I will shorten my poles a bit(not by much). A few inches goes a long way, especially when you factor in the extended grip. Going down to waist height is way too short. You want the poles to help you stand up straight and remain stable without needing to bend over to the pole. Longer poles are always better than short.
Adjust For Downhill Travel
When traveling downhill extend the poles a few inches. You’d be amazed at how much of a difference 2-3 inches makes when carrying heavy loads.
Lengthen the poles so that as you walk downhill the poles are long enough to reach out/down to the ground without needing to bend forward or overextend your arms. You’re trying to decrease the impact on your knees/back, you don’t want to overextend.
As you are walking downhill you’re trying to use the extended poles to control your pace downhill. Trekking poles protect your knees from excessive impact, prevent slips, falls and stumbles.
Should You Use Trekking Pole Wrist Straps?
Whether or not you need to use the wrist straps is a matter of much debate. One camp says that going up through the straps so it cradles your hand gives you a litte extra push, stability and efficiency. Others claim that if you’re entwined in your strap and accidentally fall it could injure your wrist.
Personally, I think the benefits far outweigh the risk. Why live life worrying about what could happen when you know the benefits of using straps? There’s no way to plan around injuries, they happen when you least expect it.
Adjusting The Wrist Strap
Most backpackers don’t know how to properly use their wrist straps. They just don’t take them seriously which can actually lead to injuries. When wrist straps are adjusted properly they actually prevent aching hands and sprained wrists.
To adjust the length of your strap simply pull the tension block out and slide the strap in/out. You shouldn’t have a lot of play in the wrist strap. There should be just enough to slip your wrist in without restricting circulation. Once the desired size is reached lock the tension block back in.
Using The Wrist Strap
Most backpackers don’t know how to properly use a wrist strap. Never put your hand through the strap from the top-down. If you put the strap on backward and accidentally stumble it’s gonna tear at your wrist possibly causing injury.
Put your hand up through the bottom of the strap so that it rests snugly against your wrist. Even though a loose strap is more comfortable it doesn’t provide enough wrist support. You want the weight of your hand to rest on the pole without restricting circulation.
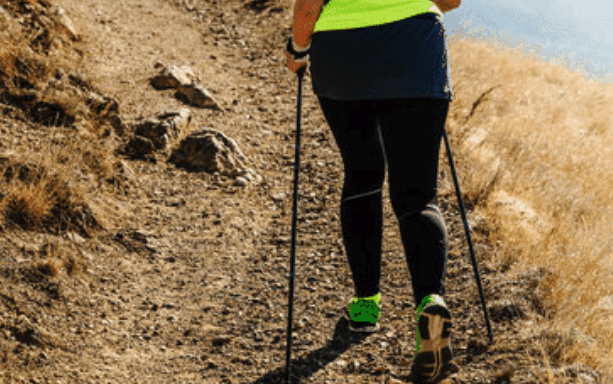
How to Walk With Trekking Poles
It seems crazy looking back on the first time I used trekking poles. For some reason, the movement just didn’t seem natural. Walking with trekking poles just felt awkward.
Just think about how you walk naturally. When you step forward with one foot the other arm swing forward. It’s just the natural way you walk forward. Since this is the way our bodies are designed to move you use the same basic walking pattern while using trekking poles.
- As your right leg moves forward so does your right arm. Trying to follow the opposite pattern puts extra weight on the opposite foot.
- Use both trekking poles when trying to navigate difficult terrain. Move both poles forward at the same time and use the poles to stabilize your pack weight. When navigating through rocks, roots, sticks, etc you should always keep 2-3 points of contact to reduce falls.
Be Careful On Rocky Terrain
It’s really hard to navigate through rocky terrain. If the pole slips on rocks you risk falling, causing injury, and possibly snapping the poles.


