Finding a way to filter water is extremely important on multi-day backpacking trips. There’s no way to haul in all the water you need, so you’ll have to find a way to filter and purify water along the way. With so many different purifiers and filters on the market how do you choose between them? What’s the best way to filter and purify water on backpacking trips?
Backpacking water filters are the best option while hiking through the United States and Canada. They filter out bacteria, protozoa, sediment, and microplastics. You need to use a water purifying method that can handle viruses in developing countries where fecal contamination is a problem. UV purifiers like the Steripen are the easiest option, but you can also boil water or use purification tablets.
I personally recommend using the Sawyer Mini filter inline with your hydration pack. It’s cheap, lightweight, and really easy to use. Just hook it up to the hydration tube and sip water like you normally would. Sawyer Squeeze or a pump style filter is a better option for water bottles. Gravity filters (Platypus Gravityworks) are primarily used when your traveling with large groups.
Table Of Contents
What’s The Best Way To Filter Water On Backpacking Trips?
Water is so heavy that it would be impossible to haul it all in on a backpacking trip. You might be able to get by on an overnight trip, but you’d run out by the end of day 1. So you need to find a backcountry water source and find a way to filter or purify it.
There are four main ways to purify and filter water. You can purify water by boiling, use water purification tablets/drops, Ultraviolet Light purifiers, or use a water filter. Water filters can be broken down into three styles: sip or squeeze filters (inline filters), pump filters, and gravity filters.
- Boiling Water: Boiling water before drinking is one of the most reliable ways to treat drinking water, but it requires a backpacking stove and lots of fuel. Due to pack weight constraints, carrying in all that extra fuel can be a serious challenge on long backpacking trips. The basic rule for boil purification is to bring the water to a rolling boil for 1 minute at low altitudes and 3 minutes at altitudes above 2000 meters. Boiling kills everything in the water, bacteria, protozoa, viruses, etc, but it doesn’t filter out sediment. You still have to run the water through a filter to get rid of the sediment, so boiling only makes sense in the winter and when backpacking through developing countries.
- Water Purification Tablets: Chemical purification methods weigh almost nothing and are small enough to fit in your first-aid kit. It takes over 30 minutes for the tablets to kill most bacteria, protozoa, and viruses, but it can take up to four hours to kill cryptosporidium. Water purification tablets shouldn’t be used as your primary purification method, but I always carry them (these ones) as a backup in case my regular filter stops clogs. They’re lightweight and cheap so it’s a great addition to your emergency first-aid supplies.
- Ultraviolet Light Purifiers: UV Purifiers are a fairly new invention that can kill bacteria, protozoa, and viruses fast. The Steripen is by far the most popular UV purifier on the market. Just dip the UV purifier into your water, and wait 90 seconds for it to kill everything, but make sure you carry extra batteries. It’s a fast and effective purification method in areas where you need to kill off viruses, but you still have to deal with sediment and silt. Most people use a regular water filter as a prefilter to remove sediment.
- Water Filters(sip or squeeze, gravity, and pump): Water filters are by far the best option when backpacking in the United States, Canada, and most developed countries with sanitary water sources. They’re really easy/fast to use and filter out sediment/silt, bacteria, microplastics and protozoa. Most solo backpackers use a squeeze or sip style filter since they’re compact and run inline with their hydration pack. I have a Sawyer Mini attached to my Camelbak Hydration bladder. Gravity filters (like this one) use gravity to force water through the filter and are primarily used with large groups. Pump style filters are bulky, but they filter water fast allowing you to fill your hydration bladder with clean water and bypass the need for an inline filter. Bypassing the inline filter gives you a better flow rate since the water doesn’t have to go through a filter with every sip.
So what’s the best way to purify or filter your water in the backcountry? Most backpackers in the United States purify their water with some type of backpacking water filter. Just keep in mind that water filters can only filter out bacteria, protozoa and sediment. I will go into more detail below on each of these filter/purifier styles and give a few product recommendations.
Viruses are so small that they slip through most water filters. There are a few water filters that can handle viruses, but they have smaller filter elements that clog much faster than traditional filters. For example: the Sawyer S3 filter can filter out most viruses, but it’s only rated for 60 gallons of water before it needs to be replaced. At $24 a piece for the replacement element that can get expensive fast.
How Do You Get Water On Backpacking Trips?
So if you can’t haul it in, how do you get water? It takes a lot of water to stay hydrated, cook dinner, wash down, and clean up after yourself. That means you have to plan your trip around water sources and set up camp within walking distance of water. You don’t want to walk a long distance every time you need water.
Once you’ve found a water source you need to make sure it’s safe to drink. Backcountry water sources are filled with sediment, bacteria, protozoa and viruses (depending on where you are). There may also be chemicals, pesticides, and microplastics depending on where you are.
Bacteria and protozoa are the primary concern in the United States, Canada, and most developed countries. Viruses are rarely a concern when backpacking in the United States, but you still need to be aware of your surroundings.
Water sources near major urban centers and surrounding popular campgrounds can be contaminated so be careful. Most viral infections aren’t life threatening in healthy adults, but you don’t want to deal with food poisoning. In much of the developing world, viruses still pose a significant risk. Sanitation practices aren’t followed and sewage can contaminate the drinking water.
Finding a Safe Water Source On Backpacking Trips
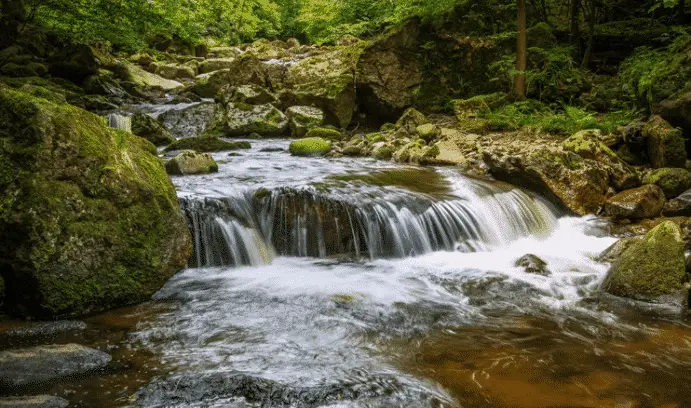
Flowing water, from a stream or river is by far the best water source. Flowing water doesn’t allow algae growth or the accumulation of microorganisms. Plus you won’t have to deal with mosquitoes since they can’t lay eggs in fast-flowing water.
If you can’t find a flowing water source, you can still get water from calm water. Try to find water that doesn’t have a lot of sediment or silt. Sediment won’t make you sick, but it can quickly clog up your filter. Regular backflush cycles can prevent filter clogs, but there’s no easy way to backflush your filter in the field.
Once you find a water source, try to reach away from the shore. Microorganisms and algae tend to accumulate in higher concentrations around the water edge.
Danger Signs:
- Water near meadows and pastures with grazing animals or near popular established campsites. There’s a higher likelihood of fecal contamination.
- Signs of sloppy human behavior and prolonged human visits. Once again there’s a higher likelihood of contaminated water sources when humans are camping in an area.
- Excessive foam and brown scum in the water. This usually indicates an algae bloom which isn’t harmful from a health standpoint, but there will be more microorganisms to clog the filter.
- Dirty snow indicates human visitors and excess foot traffic. Just be careful! Clean snow doesn’t always indicate that the snow is safe to melt/drink. Bacteria and protozoa can live for months in ice so it still needs to be boiled.
Gathering Water To Filter/Purify
Seeking out the clearest possible water is the most important thing when you gather water for treatment. Stay away from muddy sediment filled water, tannic water, and foam/scum covered water that indicates algae blooms.
Don’t worry if murky/silty water is the only thing you can find. Leaves, algae and silt don’t pose a safety threat, but they do complicate the water treatment process. If you can only find murky water, gather it from the surface and consider using a prefilter. Prefilters are commonly found in most water filters, but you might need to buy an addon prefilter with UV-Treatment options.
Most illnesses that we associate with bad water are actually caused by poor hygiene. Make sure you keep your hands clean so you don’t contaminate your “clean” food and water. Pack hand sanitizer and use it regularly. I like to use mine every time I handle food/water and use the restroom.
How To Purify Water On Backpacking Trips
Once you’ve found a water source, it’s time to start purifying/filtering the water. I’ll go into all 6 of the primary purification methods most people use and give some of my favorite product recommendations in each category.
I would almost always recommend some type of water filter over every other purification method. You can fill in the gaps for viruses later, but you always need a filter to get rid of sediment and algae. It’s technically safe to drink sediment/algae, but your water will taste terrible. You can always toss a water purification tablet into your hydration bladder/bottle to deal with viruses.
Personally, I would recommend using an inline water filter like the Sawyer Mini or Sawyer Squeeze. They’re basically foolproof, extremely durable, cheap, lightweight, and easy to use. Just hook it up inline with your hydration bladder, screw it onto a water pouch (these things) or standard water bottle (like Smartwater).
Pump filters are great when dealing with low water situations, but they’re bulky and susceptible to breakage. They’re also better if you prefer drinking out of a water bottle instead of a hydration pack. I really like my MSR Miniworks, but I tend to leave it at home when I’m trying to cut pack weight. Gravity filters (Platypus Gravityworks) are marketed towards large groups where you need a lot of water fast for cooking, coffee, and hygiene purposes.
1) Sip and Squeeze Water Filters
Sip and squeeze style water filters are by far the cheapest, lightest, and easiest way to filter water. Just attach the filter to your water bottle or hydration bladder tube and drink. It’s basically like drinking water through a straw. All it takes is a little bit of suction to draw the water through the filter.
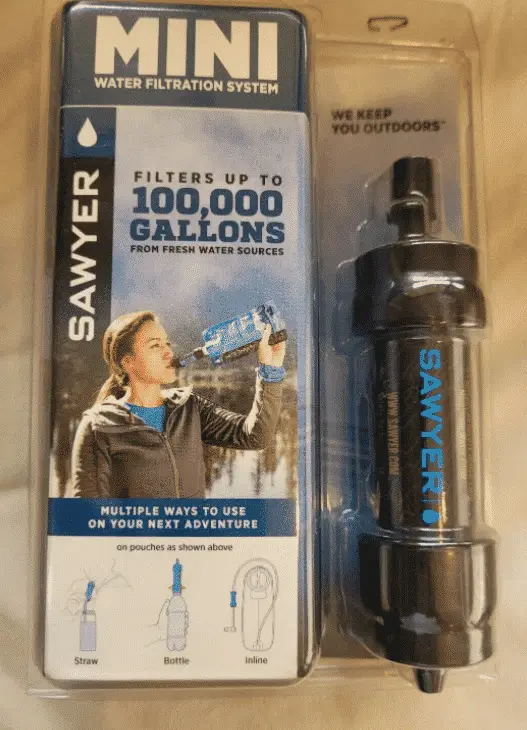
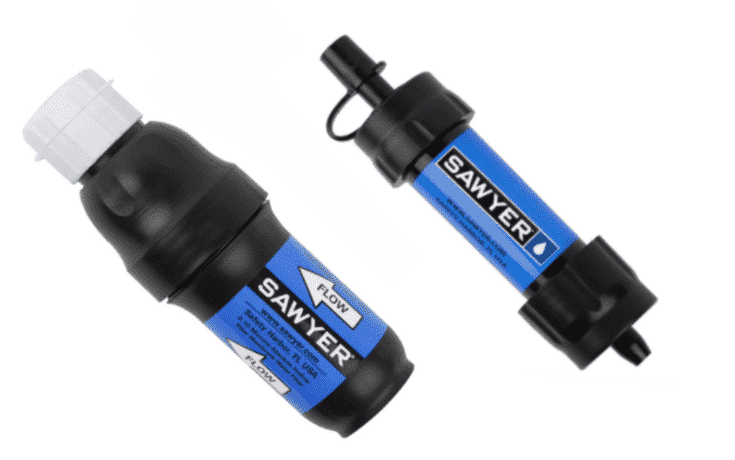
The Sawyer Mini and Sawyer Squeeze are by far the most popular sip/squeeze filters on the market. You really can’t beat them for the price. They’re so small that they can fit in your pocket and really hard to break. Sawyer Mini works as an inline filter to attach to your water bottle or hydration bladder. It’s basically like sipping water through a straw.
Sawyer squeeze works by squeezing water through the filter. Most people attach it to the included water bag and squeeze the water into a standard water bottle or attach it to a Smartwater bottle. You can drink straight from the water bag but it feels kind of weird to hold a bag of water.
Just make sure you regularly backflush the filter after each backpacking trip to avoid clogs. Trying to sip water through a clogged filter is a recipe for frustration. It feels like your trying to suck through one of those 2ft long crazy straws.
2) Pump Style Water Filters
Pump style water filters have a similar filter element to sip/squeeze filters, but they have a pump mechanism attached. They work by pumping water through a tube using a hand pump.
Pump filters are faster to use and allow you to quickly pump clean water directly into your hydration bladder or water bottle. This is great since you can carry a large supply of fresh water, but it requires carrying a bulky pump that’s susceptible to damage.
If you’re backpacking as a family or traveling with a large group a pump or gravity filter is the way to go. You can filter lots of fresh water fast for cooking, hygiene, and drinking. Just make sure you carry a few 1 gallon water bags so you can get the water back to camp.
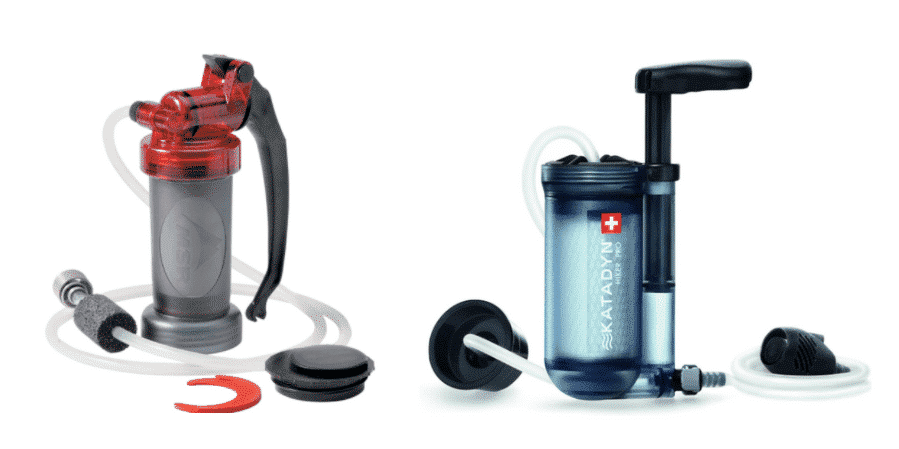
The MSR Miniworks is easily my favorite pump style water filter. It’s really durable and has a compact design. Some people like the Katadyn Hiker Pro, but quality seems to be hit or miss. There’s just something about the pump that feels awkward to me and it feels cheap for the price.
3) Gravity Water Filters
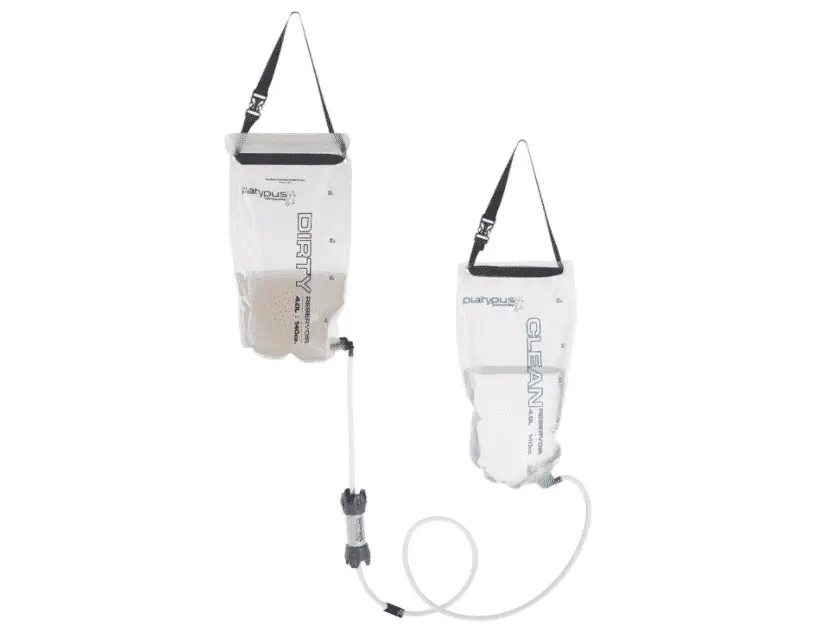
Gravity water filters are really only necessary in large groups or when you have camp set up for a few days. You just fill the dirty reservoir with water, hang it from a tree above your clean bag, and wait for gravity to filter the water through to the clean bag.
Platypus GravityWorks is by far the most popular gravity water filter on the market. It’s basically idiot proof with no way to screw up the filter process. The bags are labeled clean and dirty so don’t screw up and accidentally contaminate your clean water reservoir. If that would happen all you would have to do is toss a water purification tablet in the bag so it wouldn’t be a total loss.
4) UV Water Purifiers
UV water purifiers are by far the easiest way to kill viruses(and everything else). The only downside is they can’t remove silt and sediment from water. You have to use a prefilter to get the dirt/algae out of the water so it doesn’t taste nasty. Luckily SteriPen sells a Pre-Filter (this one) that screws onto Nalgene water bottles so it’s a fairly basic setup.
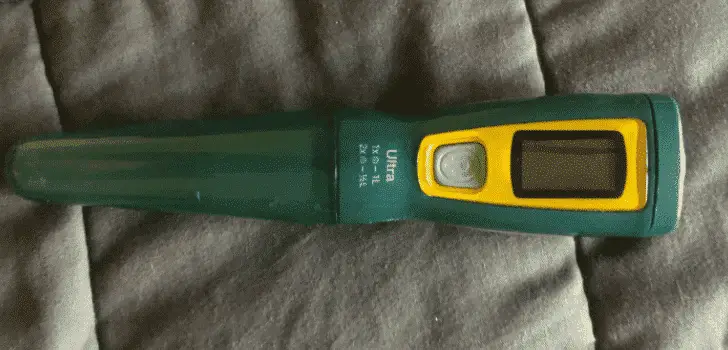
SteriPen is the only backpacking UV Purifier that’s currently on the market (that I know of). It works really well and kills absolutely everything in the water in 90 seconds. The Steripen is designed to be used with Wide-Mouth Nalgene water bottles. Just dip it into the water, turn the UV light on, and the water is safe to drink in 90 seconds. Then you’ll screw the Steripen PreFilter onto your Nalgene and drink up. Just make sure you bring a portable power bank or extra batteries in case it goes dead.
Personally, I like the Steripen Ultra since it has rechargeable batteries. Just hook it up to the power bank I use for my cell phone and it’s good to go in abotu 2 hours. Steripen Classic 3 runs off AA batteries and the Adventurer takes CR123 batteries. They really run through batteries so the Ultras probably your best bet, but it’s usually about $10 more expensive depending on what deals are going on at the time. I’ve seen all the Steripens priced the same around holidays so keep an eye out for deals.
Purifying large quantities of water can be a challenge with the steripen since it only purifies 32oz of water at a time. You get 50 treatments per charge, but it will take about 5 minutes to purify a gallon of water.
5) Boiling Water
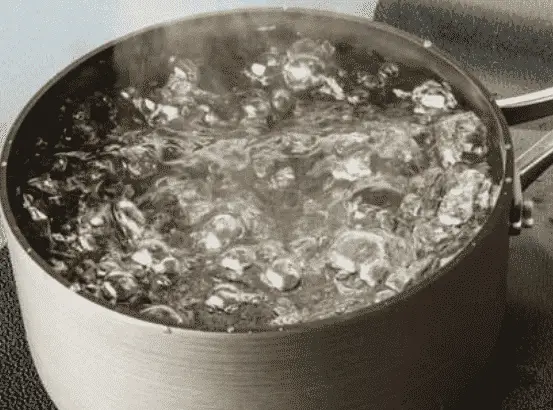
Boiling water before drinking is one of the most reliable ways to purify water. As a general rule, you should boil the water for 1 minute at ground level and 3 minutes at high altitudes (above 2000 meters). It kills everything in the water, but you may still want to run the water through a coffee filter to get the sediment out.
There are a few major downsides to boiling water. Setting up your stove, boiling the water, and waiting for it to cool is a serious pain in the butt. Plus it can only get down to room temperature so it never gets cold like flowing stream or river water. Then you have to haul in extra fuel canisters and all that. The only time it’s worth boiling water is when you’re camping in the winter and need to melt snow anyway.
6) Water Purification Tablets
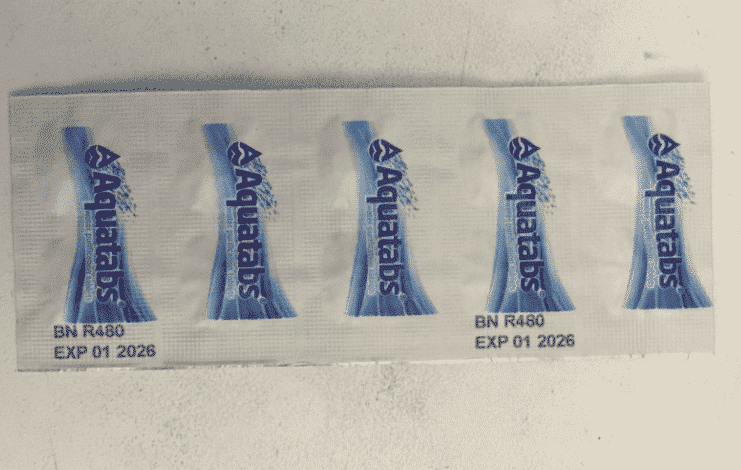
It takes a long time for water purification tablets to work so I would only use this method as a backup plan. I carry a packet of aquatabs in my first-aid kit just in case my filter clogs up. They take up about as much space as a bandaid and cost like 10 cents per tablet so you really should carry some just in case.
The ridiculously long wait is the main downside to water purification tablets. You have to wait at least 30 minutes in hot weather for the tablets to work and up to 4 hours in the winter. A swing based on temperature makes it a challenge to predict whether or not your waters safe to drink.
Leave No Trace Practices Around Water Sources
Good backpacking practices are very important when camping near a water source. As more people visit wild places, we need to reduce the harm we do to the natural environment.
Practice these leave not trace principles to preserve the quality of backcountry water. You don’t want to contaminate the water and endanger the next backpacker that comes along.
- Camp at least 200 feet away from water sources. Water can be heavy, so nobody likes hauling it back to camp. It can be tempting to set up camp right next to a water source, but that leads to fecal contamination.
- Dispose of human waste at least 200 feet away from water sources
- Never use or toss soapy water into backcountry water sources. This even applies to biodegradable soaps like Campsuds which can take decades to fully degrade. It can help spawn a population of microscopic pathogens and kill off the local wildlife
- Dispose of soapy water by dumping it over soil which can help eat away at the pollutants speeding up the degradation process.


