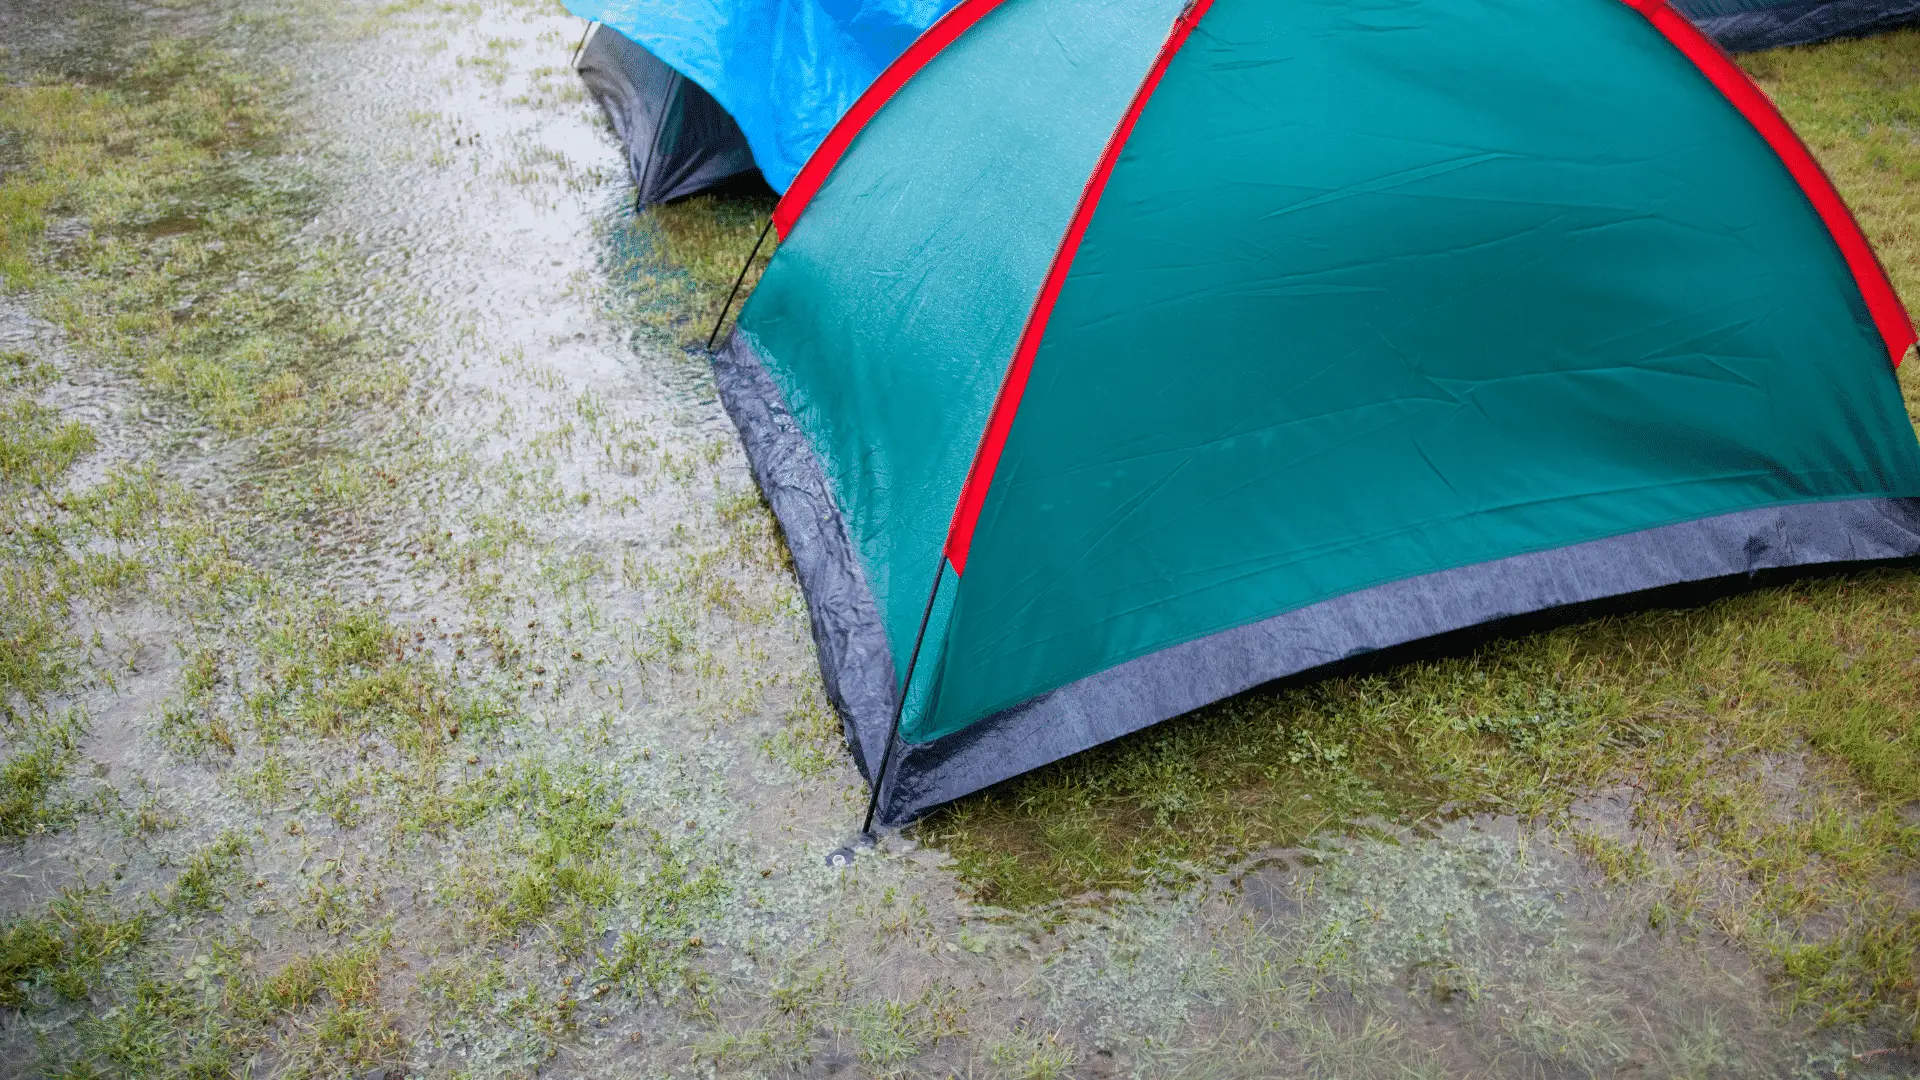
If you’re not prepared for the rain it can easily ruin a camping trip. Everything gets soaked, gear leaks, fires won’t start, and it will be a generally lousy trip. By the end of day, you’ll be cold, tired, and questioning every decision leading up to the camping trip. It doesn’t take long for you to be miserable camping in the rain, but all it takes is a few simple tips to turn the trip around.
How To Camp In The Rain: Camping in the rain boils down to a few simple rules. Choose the right campsite, create a dry open space, keeping your gear dry, and packing warm clothes that dry fast and resist water. There will be more challenges you need to overcome that I’ll get into, but once you have your gear/camp setup everything else is easy.
A little bit of rain doesn’t have to ruin a camping trip! The goal of this guide is to teach you how to stay dry while getting the most out of the trip. Nobody wants to spend the entire trip trapped inside their tent. If you follow all of the steps in this guide you should be able to spend most of your day outside without being wet, cold, and uncomfortable.
I’m not a miracle worker! There’s no way to completely avoid getting wet, but you can still have a great time camping in the rain. In the rest of this post I’ll go over everything you need to setup a dry camp so you can stay outside, waterproof your gear, dry everything that gets wet, and explain how to overcome a few of the most common challenges you’ll run into.
This is a long post so you may want to refer to the table of comments below to get a brief outline of what I’ll be covering. I recommend reading the next section since it gives a brief overview of the entire guide, but then you may want to skip around to the sections that better suit your needs.
Table Of Contents
Camping In The Rain: 14 Tips To Keep You Dry!
Nobody plans a camping trip praying for rain! You plan your trip hoping for warm sunny weather, but sometimes life throws you a curveball. Don’t let a little bit of rain ruin your camping trip. Camping in the rain is more of a challenge, but you can still have a great time by following a few simple rules.
When camping in the rain you need to follow the old idiom: hope for the best and prepare for the worst. It doesn’t matter what the weatherman predicts, you never know what life’s going to throw at you. You need to prepare for rain weeks/months before arriving to the destination.
There are some basic rules you’ll need to follow once the camping trip starts, but most of the work is done during the planning stage. You have to waterproof your gear, plan out your wet/cold weather clothing, and come up with a backup plan in case you get caught in the rain. Failing at the planning stage will leave you cooped up in your tent desperately trying to dry your soaking wet gear (I’ll explain how to dry wet gear below).
Don’t get me wrong, camping in the rain will be more challenging, but you can make the most out of your trip by following a few simple tips. It’s impossible to stay completely dry without hiding in your tent, but there are ways to dry your gear fast. You won’t have any trouble staying dry if you follow these simple tips.
1. Watch The Weather And Don’t Be Afraid To Cancel The Trip
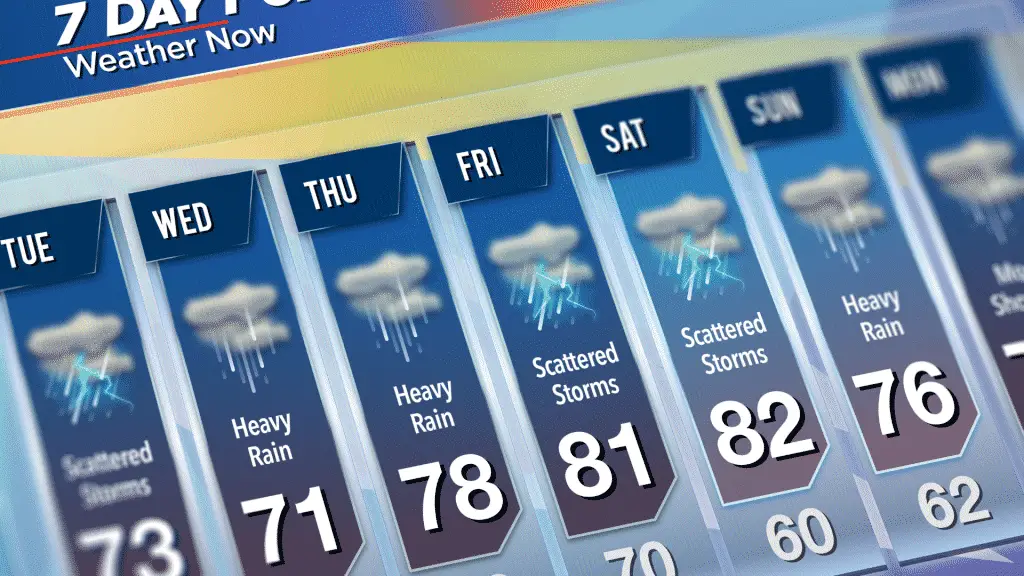
Hopefully this should seem obvious to you, but you need to keep an eye on the weather forecast leading up to the trip. Check back frequently and the forecast suddenly changes don’t be afraid to cancel the trip. That can be difficult if you already took off work, but it’s so much nicer to camp in warm sunny weather.
You should still pack for the rain, even if the weather forecast looks fine. Bring along your tarp, rain gear, tent footprint, etc. just in case the weather changes. My entire rain setup weighs less than 2lbs so it’s not worth the risk of not being prepared for sudden weather changes. The only time you might want to leave rain gear at home is if you’re a lightweight/ultralight backpacker.
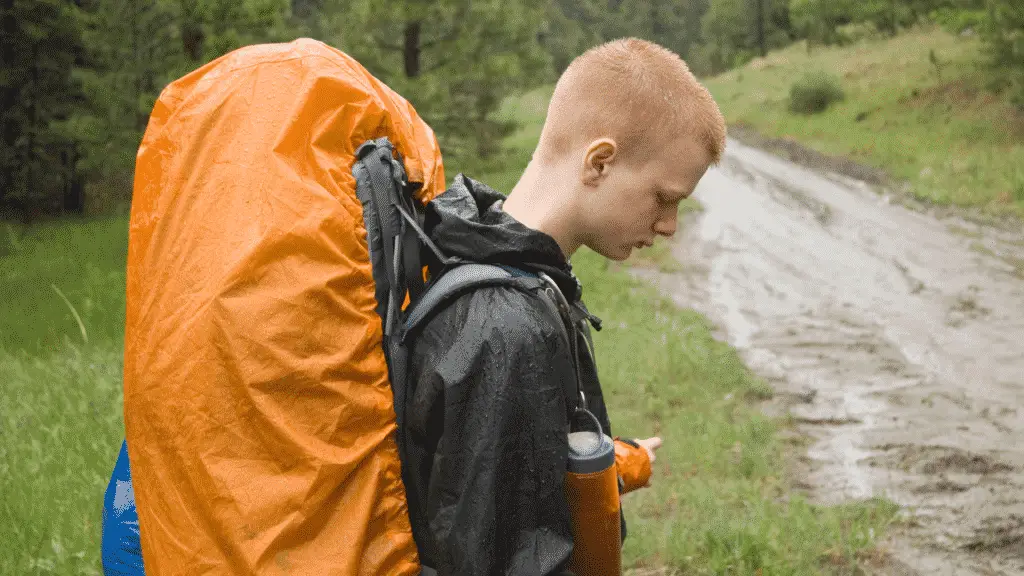
2. Find Moisture Wicking Clothes That Are Comfortable In Dry and Rainy Weather
It doesn’t matter how well you setup camp, you will get wet! You need to choose fabrics that will dry fast when you hang them up on a clothesline. Never wear cotton clothing on a camping trip! That includes typical cotton shirts, socks, underwear, and jeans.
There’s a very important explanation for the saying “Cotton Kills”. Cotton is by far the worst fabric when it comes to retaining moisture and it takes forever to evaporate/dry. Water significantly increases the risk of hypothermia, frostbite, and other cold based injuries. You can die in 40°-50°F weather if your clothes are soaked in rain or sweat.
Instead of wearing cotton, look for versatile quick dry fabrics to wear around camp and underneath your raingear on the trail. Merino wool is by far the best option, but any type of synthetic technical athletic fabric using a nylon and polyester blend will work.
What Does Moisture Wicking Fabric Mean?
I always wear merino wool socks (my favorite) when I’m hiking and camping. Merino wool can absorb 35% of its weight in water without feeling wet, keeps you warm in cold weather, cool in the summer, it’s extremely comfortable (even when wet), and it has antimicrobial properties. You can wear the same pair of merino wool socks for an entire backpacking trip and they won’t stink.
Wool is also the best choice when it comes to blisters and chafing. You will not get blisters on your feet with a pair of Smartwool Socks or chafing between your thighs with merino wool underwear. Most chafing/blister issues are caused by moisture issues and I’ve gone on 15-20 mile hikes with bone dry wool socks at the end of the day.
The only downside to merino wool is the price. Merino wool socks and underwear are reasonably priced, but I’m not willing to spend $40-$50 on a merino wool t-shirts (check them out). So I wear Under Armour or Nike Style synthetic athletic shirts and quick-dry hiking pants (I like Columbia). You can always merino wool sweaters at Goodwill for $8 so that’s an option if you’re camping in colder weather.
3. Consider Fast Drying Shoes Instead Of Waterproof Hiking Boots
Most people fall into the trap of only considering waterproof hiking boots. They might keep your shoes dry from the rain, but your boots will be completely drenched in sweat by the end of a long hike. Waterproof boots are great at keeping out moisture, but there’s just as good at trapping sweat.
Once your feet sweat there won’t be anywhere for the water to go. It can’t evaporate through the waterproof coating and there’s no easy way to dry them out on a camping trip. If your boots get wet on the first day, they’ll stay wet for the rest of the trip! My waterproof boots take at least 2 weeks to dry when I’m not using my boot drying fans.
The only time you should wear waterproof camping boots is when you’re camping in cold weather. There’s less risk of sweat and you really don’t want your feet to get wet in freezing temperatures. I recommend looking for a 200g insulated waterproof hiking boot or insulated combat boots.
My Bellville Insulated Combat boots are way more comfortable than any pair of winter hiking boots I’ve tried. I go over wearing military combat boots for hiking in another post, but you won’t be disappointed.
For summer/spring/fall camping I recommend wearing either water-resistant boots/shoes or trail runners. Water resistant boots are great at dealing with water but they dry 10 times faster than 100% waterproof shoes.
Trail runners are another great option, but they deal with water in a completely different way. They’re designed to let water into the shoe and they have drainage ports to speed up the drying process. I can run straight through a creek and my trail runners will dry within 20 minutes.
Just make sure you wear merino wool (my favorite) or synthetic socks, because your shoes can’t dry with soaking wet socks. Merino wool will be a much better option since they’re better at dealing with blisters. Blisters are a definite possibility with shoes that are designed to let in water.
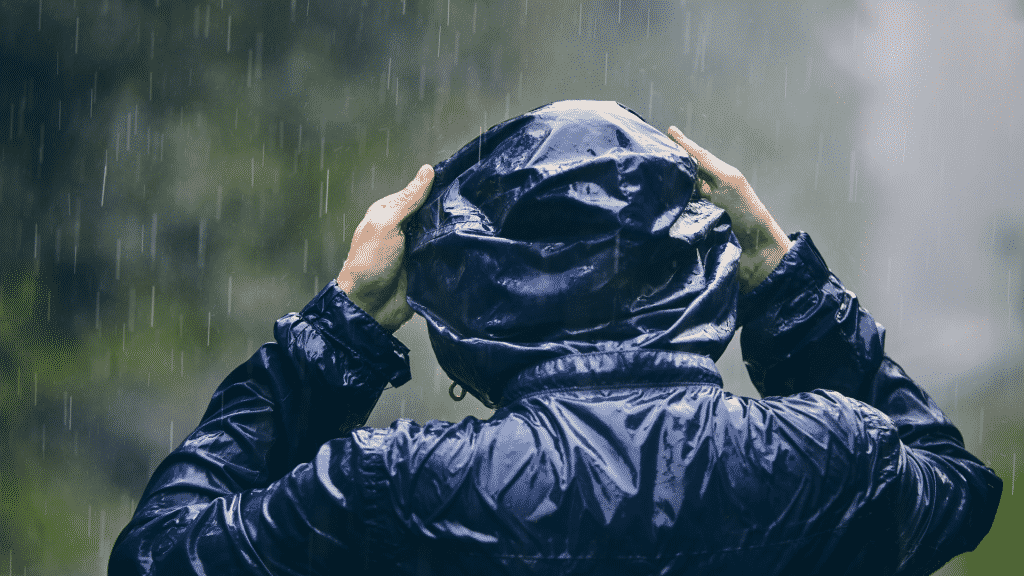
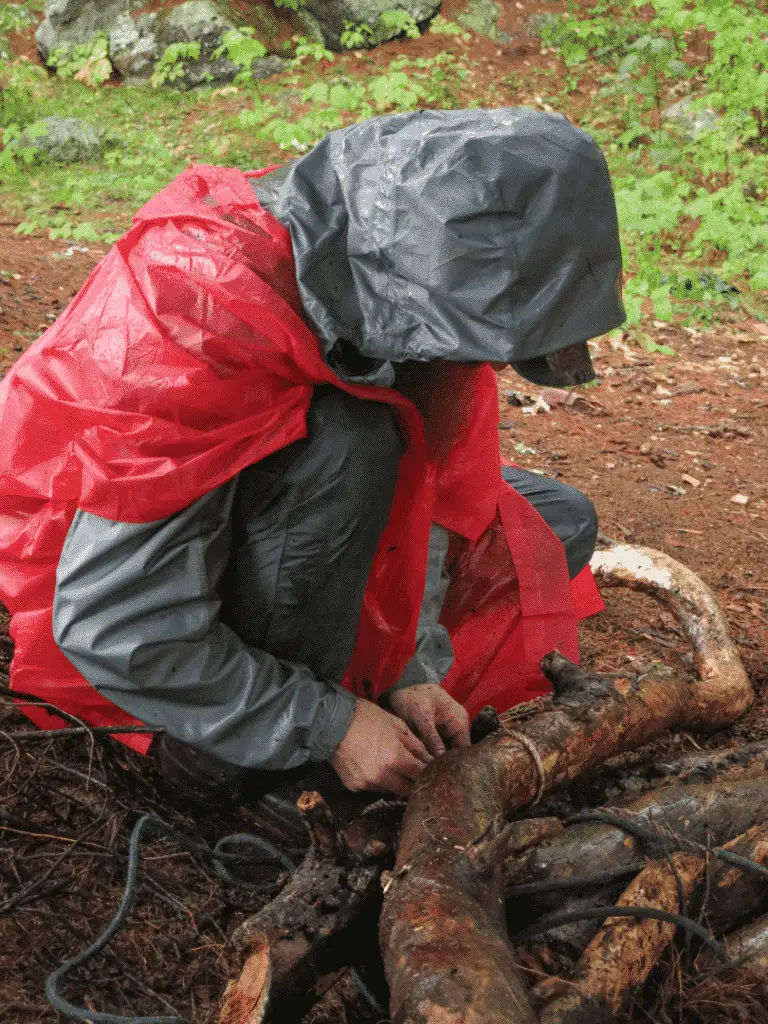
4. Choose Quality Rain Gear With Extra Ventilation
Quick-Dry fabrics dry fast and resist moisture in light rain and dries fast, but you’ll need to switch over to waterproof raingear when the rain picks up. There are 3 pieces of rain gear that you need to purchase: rain jacket, rain pants, and gaiters.
Your rain gear should only be used as a last resort to protect your clothing in heavy downpours. Putting on waterproof raingear early will make you sweat and cause condensation inside the fabric. Your clothes will end up completely soaked in sweat and condensation if you’re not careful.
Just make sure whatever you choose has an excellent ventilation system. Your raingear should have either jacket pit zips or mesh ventilation panels. It will really help cut down on sweat and condensation when you’re hiking or exercising. I wear a Columbia EvaPOURation Pit Zip Rain Jacket and a cheap pair of Frogg Togg Rain Pants.
I recommend wearing your gaiters in light rain, tossing on the raincoat in moderate rain, and saving rain pants for heavy downpours. This reduces the risk of ending up with sweat/condensation soaked clothing.
5. Spray Your Gear With Waterproofing Spray And Seam Seal Failing Seams
The durable waterproof coating (aka DWR) on your gear will start to wear away after using it for a few years. You can repair the waterproof coating by spraying on a waterproofing spray. I recommend using either Nikwax Waterproofing Spray or Kiwi Camp Dry.
You can use DWR sprays on your tent, raingear, pack, dry bags, shoes/boots, and anything else with a waterproof coating. Just clean off dirt buildup on your gear with soap/water and spray it down with the waterproofing spray. Let your gear sit for 24 hours to dry and you’re good to go.
The next thing you need to do is check all the seams on your waterproof gear. You should obviously start with any seam that’s leaked in the past, but also check to see how they’re holding up. Any seams that are fraying or falling apart need to be repaired with seam sealer or seam tape.
You can save some money by checking out my post that goes over cheap seam sealer alternatives.
Most people use (Seam Grip), but you can save some money by purchasing Shoe Goo or making homemade seam sealer. All seam sealers are 100% silicone so any silicone based product will work. Shoe Goo is basically the same thing, with a much bigger tube, and at a fraction of the price.
6. Use Rain Covers, Pack Liners, Waterproof Compression Sacks, and Dry Bags
You need to take extra precautions to keep your important gear dry. All of your clothes, electronics, important documents, and certain foods need to go in dry bags. Almost every dry bag is basically the same so head over to Amazon and find one that fits your budget. I prefer the 10 Liter dry bags since they’re small enough to pack down, but large enough to hold a decent amount of stuff.
Use both a pack rain cover and pack liner to keep the inside of your pack dry. Pack rain covers will keep the outside of your pack dry, but rain/sweat will run down your back and leak through the foam padding. So if you don’t use a pack liner everything will get wet.
Pack liners can be expensive, but 18 Gallon Trash compactor bags are a durable alternative (regular garbage bags rip). Compactor bags are designed to withstand punctures so they should last a few weeks in your pack. They’re cheap so you can easily replace them, but you can also patch holes with duct tape.
Check out my post comparing pack liners vs compactor bags and garbage bags and my guide explaining how to use trash compactor bags for backpacking.
Your sleeping bag/liner is another very important piece of gear that you need to keep dry. Dry bags might work in a pinch, but waterproof compression sacks (Alps Mountaineering Compression Sack) are a much better option. They keep your sleeping bag/liner dry and they compress your bag down so it fits into your pack.
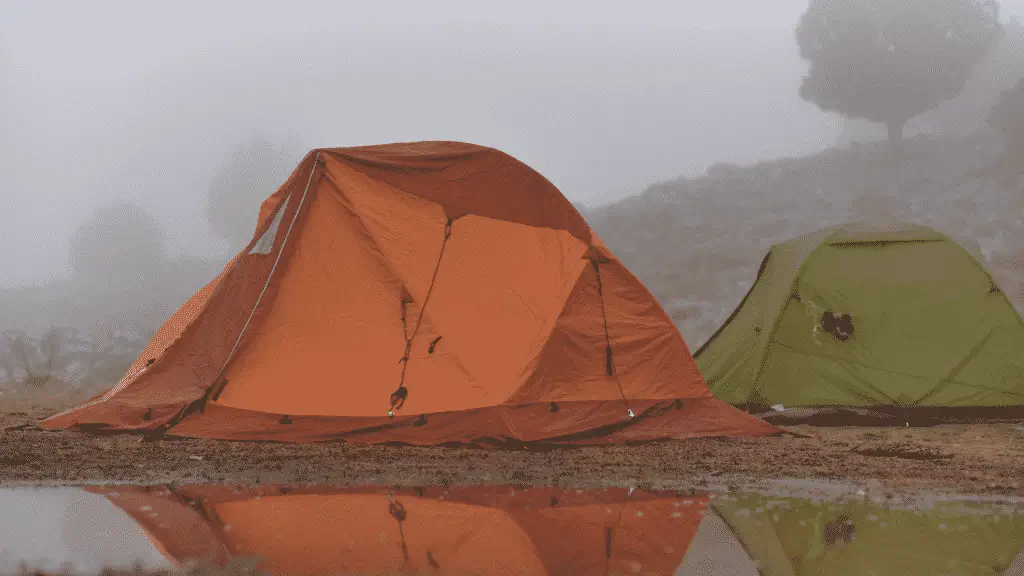
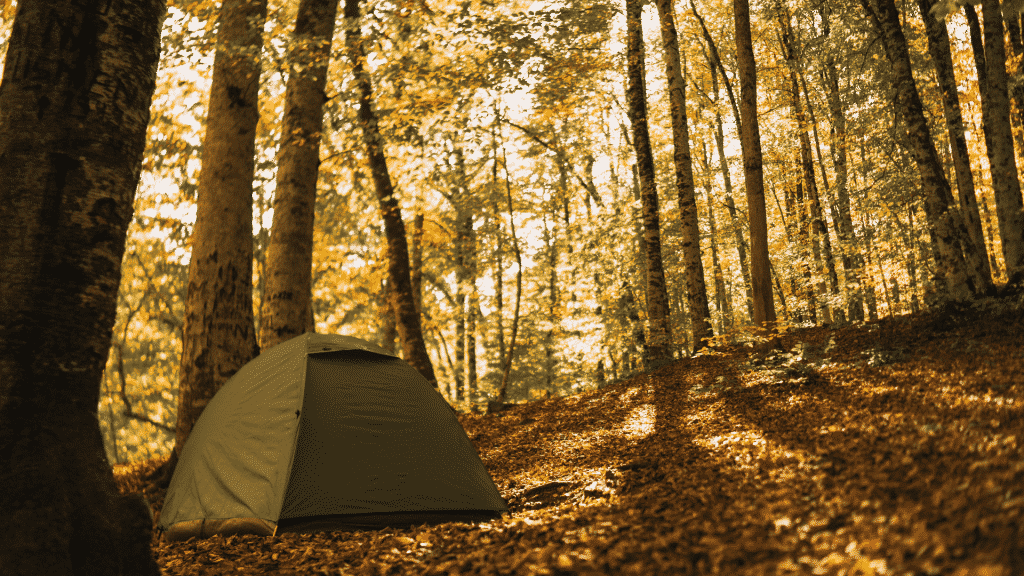
7. Use A Tent Footprint (aka. Groundsheet) or Tarp To Protect The Floor Of Your Tent
Tent footprints serve two important purposes in the rain. They prevent ground runoff from soaking up through the tent floor and keep mud off the bottom of your tent (also protect the tent floor from punctures).
It’s so much easier to wash your tent footprint than set up your tent and deep clean the tent. I lay out may tent footprint and use a pressure washer to get rid of caked on mud. I’m not all that worried about damaging a $20 tent footprint with a pressure washer, but I would hate to rip a hole through my tent.
You can use a tarp as a tent footprint, but I recommend buying a real footprint. They’re so much easier to fold/pack and a little bit lighter than tarps. I use a Redcamp Tent Footprint, because they’re cheap, durable, and fold down into a lightweight package that fits in your hand. There are lighter ultralight tent footprints available, but they cost 4 times the price.
Just make sure the tent footprint is smaller than the outside edges of your tent (2-3 inches smaller). Your tents rainfly is designed to divert water around the outside walls of your tent. If the footprint hangs outside those edges, the rain will pool up on top of it making, and hopefully you have properly sealed tent seams and no punctures.
You may want to check out my post that explains how big a tent footprint should be for more info on measuring and sizing them up. I also go over how to cut down and install grommets on a tarp in another post.
8. Pitch Your Tent On High Ground And Use Slope Angles To Divert Water
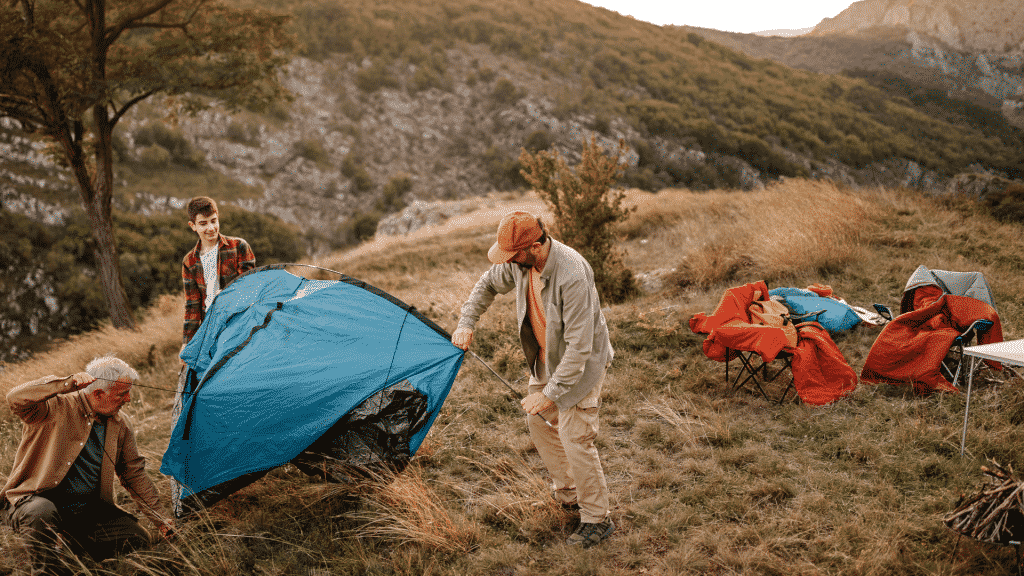
Use elevated terrain and the slope of the ground to divert water away from your tent and campsite. Bathtub style tent floors should keep most of the water out of your tent, but nobody wants to walk around a muddy campsite.
Check out my other post where I explain how to set up a tent in the rain for more info. It goes over site placement, keeping your tent dry, condensation problems, and building a shelter over your tent.
Pitch your tent on high ground and look for dips in the surrounding area that will hold pooling water. You should also consider the drainage of the soil since you don’t want a stream of water running through camp. This is especially important when trying to keep a floorless tent dry.
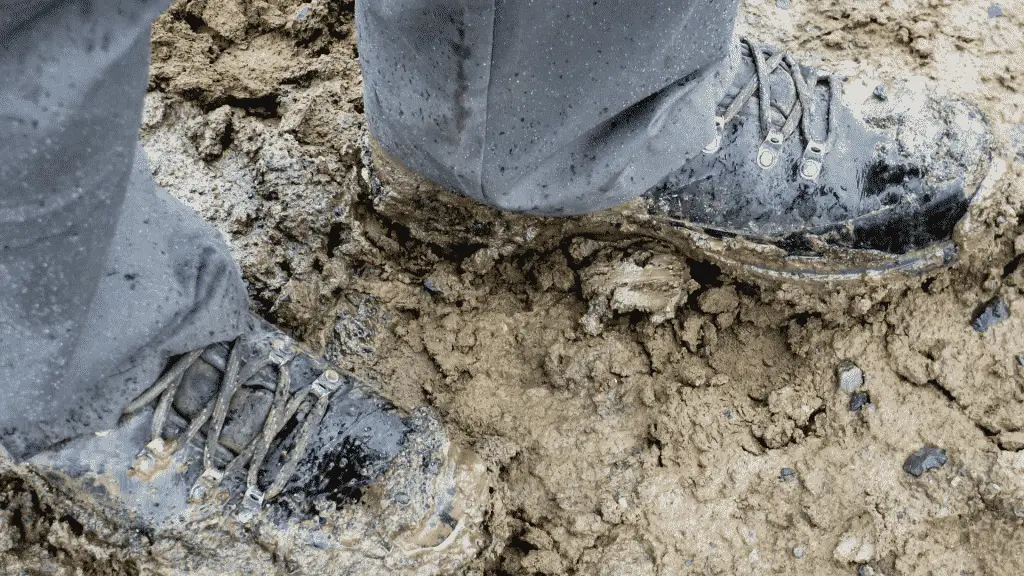
Also pay attention to drainage when choosing a campsite. Rain obviously can’t drain through rocks, but it also has a hard time draining through clay filled soil. You can test the soil by pushing a tent stake into the ground.
A tent stake that pushes in easily and pulls out clean means you should have good drainage. This is an easy way to spot sandy soil. If the ground feels mushy when you push in the stake and dirty when you pull it out that’s usually clay filled soil.
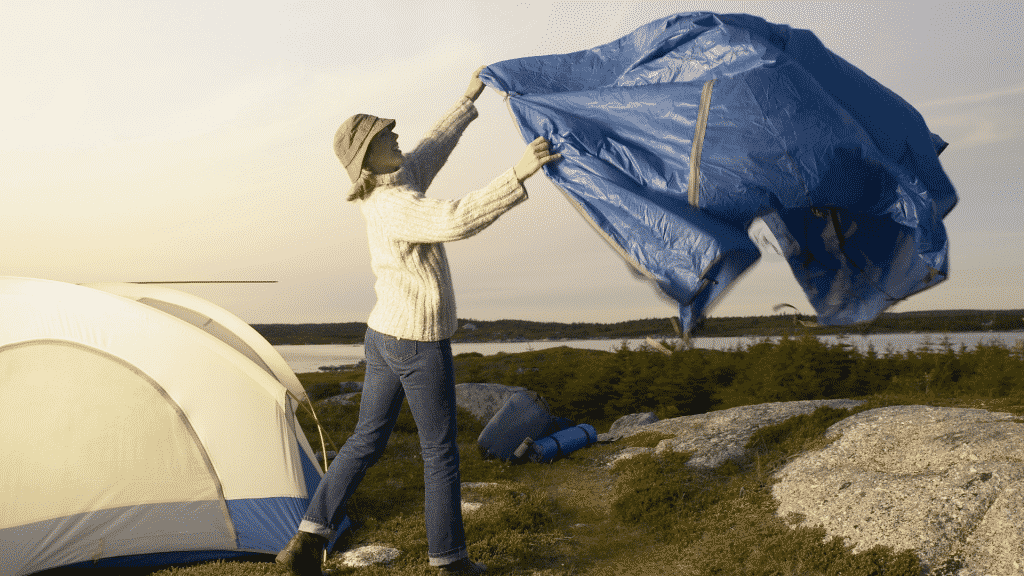
9. Use A Tarp To Create A Sheltered Outdoor Living Area To Stay Dry In The Rain
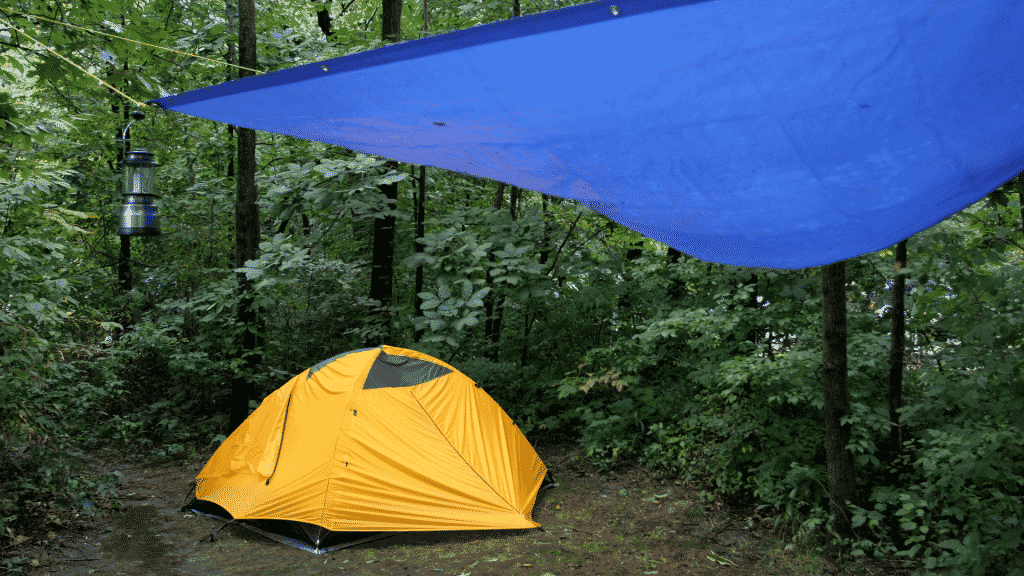
Use trees and guylines to suspend a tarp in the air to create a sheltered outdoor area to hangout. This doubles as your gear/clothes drying shelter during rainy conditions so make sure there’s enough room for a clothesline as well.
This gives you an area to hangout so you’re not stuck inside the tent all day. A dedicated camping tarp will be lighter and easier to pack down, but any tarp will work. You can also use your tent footprint to create a sheltered area if you get caught in unexpected rain.
Some people setup their fire under the tarp, but that’s not a great idea. It’s better to setup a campfire outside a few feet past the edge of the tarp to avoid burning holes in the tarp and gear that you’re drying.
You can also put an extra tarp over your tent and run a clothesline under that, but it’s not necessary. The tent’s rainfly should offer plenty of protection from the rain if it’s newish or if you recently applied waterproofing spray.
10. Hang Up Wet Clothing And Gear On A Clothesline In A Dry Area (Under The Tarp)
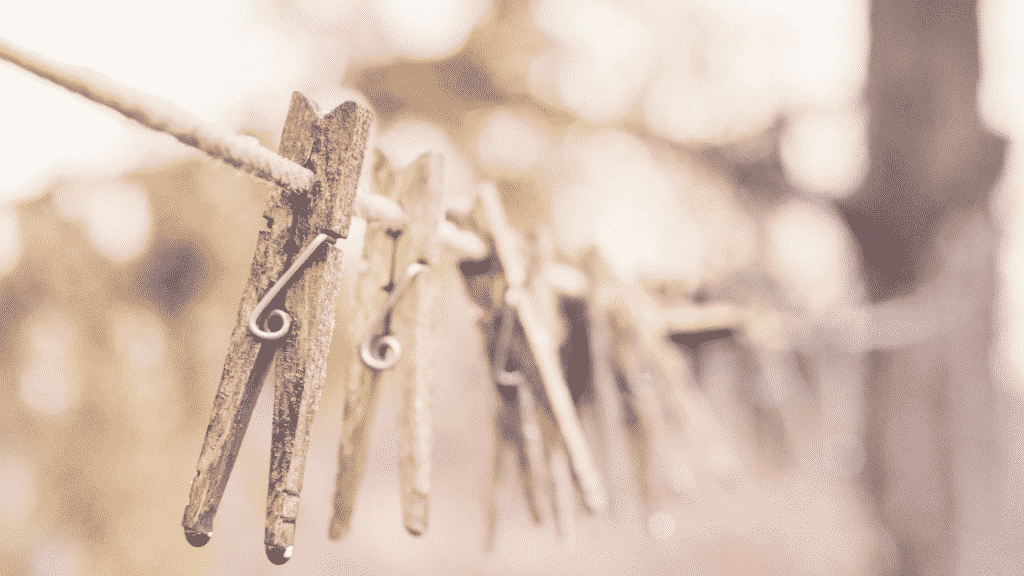
If the weather clears up, you can hang up a clothesline to dry your gear and clothes in the sun. That may not be possible on rainy days or when you’re dealing with consistent rain on long camping trips. I highly recommend carrying a camping tarp so you have a place to hang wet gear.
I like to hang a cheap Redcamp tarp up when there’s any chance of rain. If it’s raining while I setup my tent, it goes over the tent barely past the center point. This leaves a small patio area to hangout in the rain and I hang up an extra guy line to hang wet gear/clothes to dry.
I go into more detail explaining how to dry camping clothes in another post.
It shouldn’t take more than 1-2 hours to dry wet clothing if you chose the right fabrics (Quick-Dry Technical Fabrics, Merino Wool, Nylon, Polyester). Heavy jackets and sleeping bags with thick insulation can take a long time so use dry bags and compression sacks to keep them dry.
11. Carry A Sponge and Microfiber Towels To Dry Your Tent and Gear
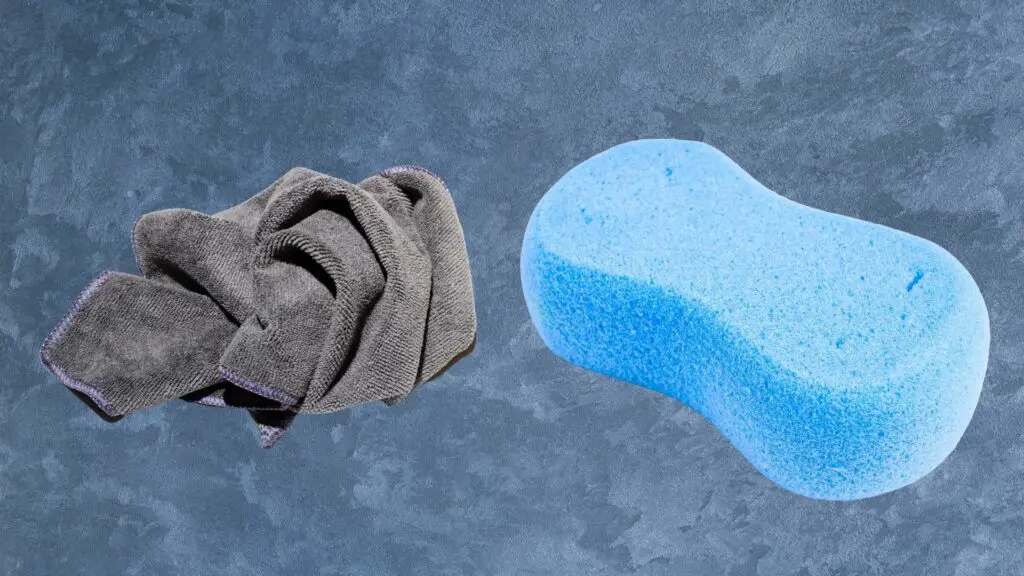
You can buy microfiber towels on Amazon, but I recommend getting them at Harbor Freight if you have a store nearby. They usually have a coupon for a 4 pack of free microfiber towels, but even at the regular price they’re only $3 per pack. I use them to wipe down my body, cooking gear, trekking poles, wet shoes, inside/outside my tent, and for 100s other random things.
I recommend carrying 2-3 microfiber towels and a sponge to wipe off the inside of your tent when it gets wet. It’s almost impossible to keep the inside of a double wall tent dry while setting up your tent in the rain so carrying a towel is extremely important.
I go over how to set up a tent in the rain without getting the inside wet in detail in another post, but here’s a brief explanation.
A double wall tent consists of two parts: the inside of the tent has a mesh ceiling/walls and the outside of the tent has waterproof/windproof rainfly. When you try to set up this type of tent in the rain, you will always get rain on the mesh roof, which will drip into the tent, and cause condensation issues.
The mesh panel is usually slightly water resistant, so you can knock off most of the rain by tapping the tent, but there will always be some water leftover. Once the rainfly’s up wipe the mesh roof/walls with your sponge and towel to soak up most of the water and clean up any water that dripped down to the floor.
You will also need to wipe down any water that you track into the tent. It’s impossible to completely eliminate condensation since we release water vapor and 2 liters of sweat every night, but wiping down exterior moisture will definitely help.
12. Use Healthy Tree Cover To Create Shelter From The Rain (Watch Out For Thunder and Falling Objects)
Trees provide excellent cover from the rain, but you need to be careful. Look up into the tree canopy and avoid setting up your tent underneath trees with dead branches, loose limbs and any other objects that could fall (acorns, fruits, pine cones, coconuts, etc.).
I had a 2 inch branch tear through the roof of my garage. It’s hard to imagine the damage a branch could do if it tore through your tent’s roof and hit your body. That would most likely tear a hole through your body and probably kill you.
Acorns, pinecones, fruites, etc. probably won’t kill you, but it would hurt to get hit in the head. An acorn that fell down from 50ft up would have an impact velocity just under 40mph. Getting hit in the head by an object moving 40mph would most likely give you a concussion.
Just be careful if there’s a chance of thunder/lightning in the weather forecast. We’ve all been told that you should never stand under a tree during a thunderstorm, but that’s not entirely true. You should never stand set up your tent under a single tree or along the edge of a forest during a thunderstorm, but it’s perfectly safe to go deep into the forest.
You might want to check out my post explaining how to be safe camping under trees and are tents safe in a thunderstorm?
Lightning usually strikes the tallest object in an area. Lightning is more likely to strike a single tree, but when you go deep in the forest there are lots of trees that it can strike. Your odds of getting struck in a dense forest are exactly the same as if you were walking down the street.
Camping under trees also makes setting up a camping tarp (my favorite) over your tent easier. Run one main guy line between two trees, hang your tarp over the line, attach guy lines to each corner, pull out the corners, and stake it down. The entire process takes less than 5 minutes!
13. Learn How To Build A Campfire In The Rain
Building a campfire in the rain with wet wood can be a challenge. You will need to search inside the tree canopy for lots of dry tinder and kindling. Rain soaked wood won’t catch on fire until the exterior moisture layer evaporates off and that will require a lot of heat.
Look for dry grass, leaves, shaved bark, pine needles, etc. to use as tinder to start the fire. Small twigs the size of your thumb and fatwood for kindling to get it going. Large arm length branches the size of your wrist to use as fuel wood. You can either break up the big branches or lay them over the fire and let the flames burn them in half.
It’s much easier to maintain a fire in the rain than to start one from scratch. So get your fire going before it starts raining if that’s an options. If you can provide enough fuel it should be able to resist rain in 99% of situations.
You can also setup tarps next to the fire (not above) to block some of the rain. Just make sure you carry an alternate way to cook if you usually rely on the fire for dinner.
14. Create A Plan To Stay Warm Even When You’re Wet
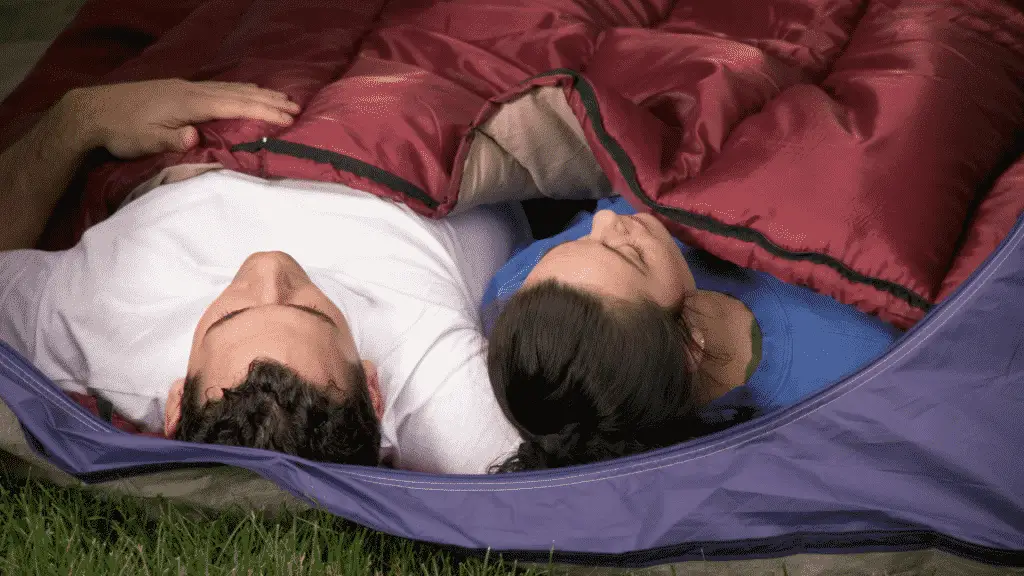
You need to come up with a way to stay warm, because you will most likely get wet at some point. That means carrying extra clothes to change into, a second fleece jacket or wool sweater that resists moisture, and figuring out your sleep system (sleeping bag, pad, and liner).
Sleeping bag temperature ratings are deceptive! They measure the temperature where it’s safe to use the sleeping bag instead of the temperature that it’s comfortable to sleep at. The comfort rating is usually 12°-15°F higher than the advertised rating.
So your sleeping bags temperature rating needs to be at least 15°F warmer than the expected nighttime temperatures. You can accomplish this by either buying a warmer sleeping bag or using a sleeping bag liner.
The main point of a sleeping bag liner is to protect your bag from dirt, sweat, body oils, etc., but it also adds warmth to your bag. I use a Sea To Summit Thermolite Reactor Liner that adds 25°F to my sleeping bags temperature rating and it can be used on its own down to about 60°F. Even a cheap Coleman Sleeping Bag Liner adds 12°F to the temperature rating which is enough to reach the advertised bag rating.
You also need to pay attention to your sleeping pads R-Value. Use a 1-2 R-Value pad in the summer, 2-3 R-Value on warm Spring/Fall nights, 3-5 R-Value on colder spring/fall nights, and 5+ R-Value in winter weather.
Most foam sleeping pads (my favorite) hover right around the 2.0 R-Value mark. That’s perfect for summer and warmer spring/fall nights, but you can pair it with a inflatable or self-inflating pad to combine the R-Values for colder weather. Self-inflating/inflatable sleeping pads have a wide range of R-Values, but I use a 6.0 R-Value Thermarest Basecamp Self-Inflating Pad.


